Art Asylum Broken Bow Deluxe Bridge set (Pic Heavy)

For everything Star Trek related, that isn't covered by the other forums.
Atlanthia
Lighting Fast Lieutenant JG
Posts: 30
Joined: Wed Dec 18, 2013 8:40 pm
Location: Truro, UK

Art Asylum Broken Bow Deluxe Bridge set (Pic Heavy)

Post by Atlanthia »

After having a good scouring of the 'Tintertube' I see that I am not alone in my frustration at the incomplete AA Broken bow Deluxe Bridge set. So, after having already invested in the three available pieces, I have decided to complete the set myself.

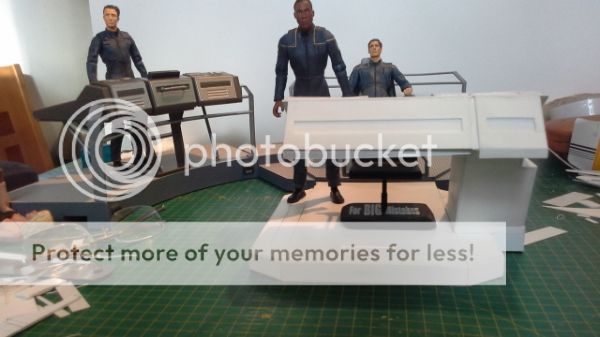
I have taken measurements from the available plans online and I have also used the two promotional pictures that AA released, which I have also listed here:

ImageImage

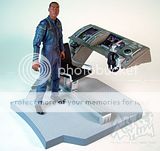
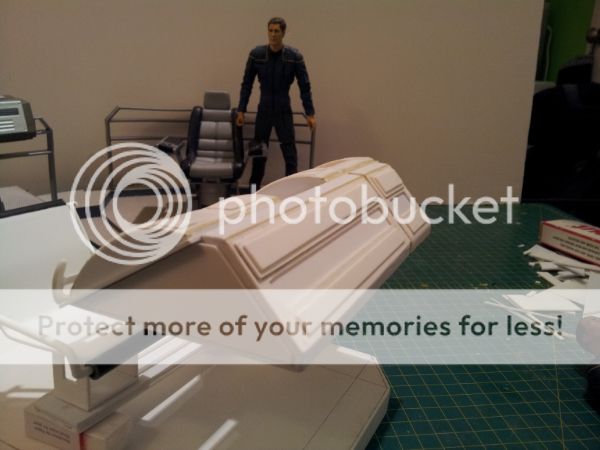
These two pictures actually help a lot as they contain certain things that are easily measurable, such as the figure, the chair and most importantly, the centre screen console. The chair and centre console are the same as the ones used on Reed's and T'pol's Stations.
As for the base, the flooring is patterned and recurring patterns can also be measured. The surface is a texture of raised dots, in uniform rows, and by measuring their spacings on one of the other set pieces, I found that there are 10 dots per inch, (or 100 dots per square inch.) Thankfully, the AA promotional pics above are of a clear enough resolution that I can count the dots to give me an accurate width and length for the base platform.

Image

Image

Image

Image

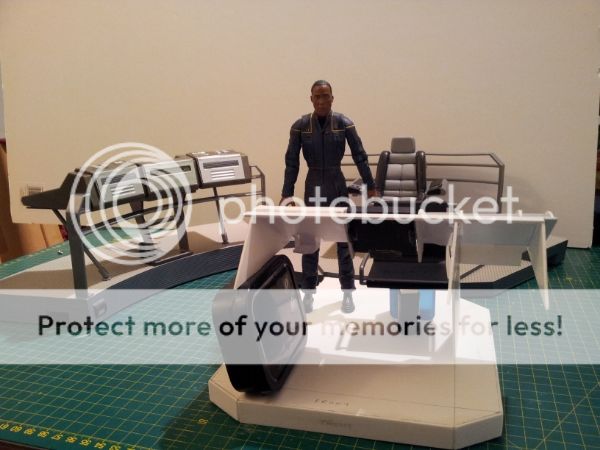
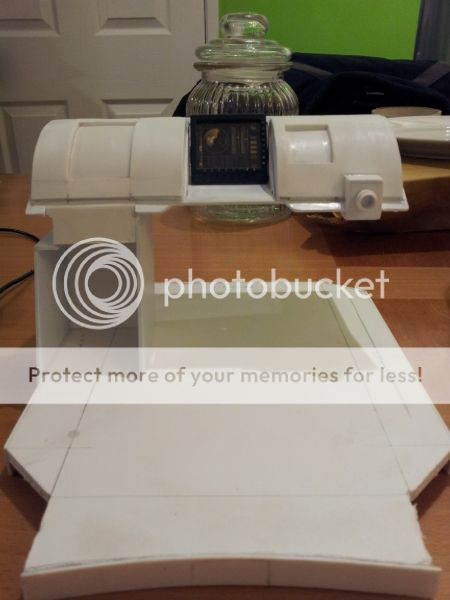
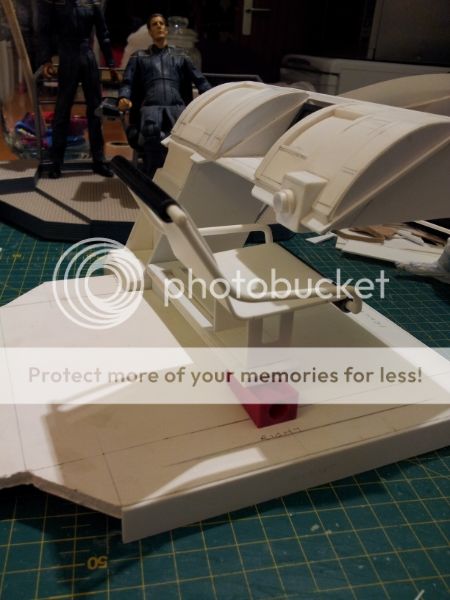
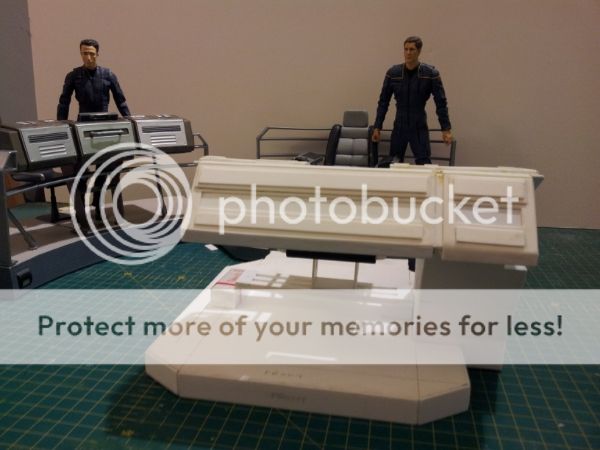
I noticed quite quickly that the AA helm had quite a few inaccuracies: the console slope isn't steep enough, the supporting pillar wasn't accurate at the base etc, so I am also trying to iron out those issues, too. It really comes down to a balance between available images and what is realistically achievable with plastic and glue.

Image

Image

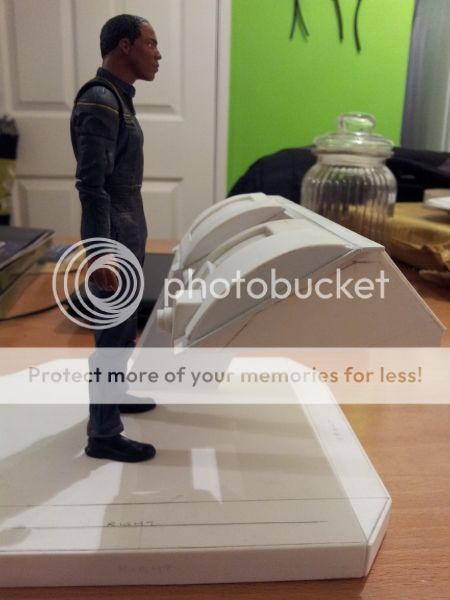
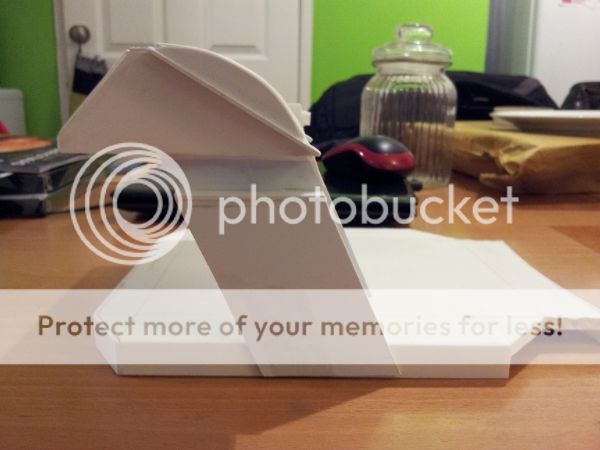
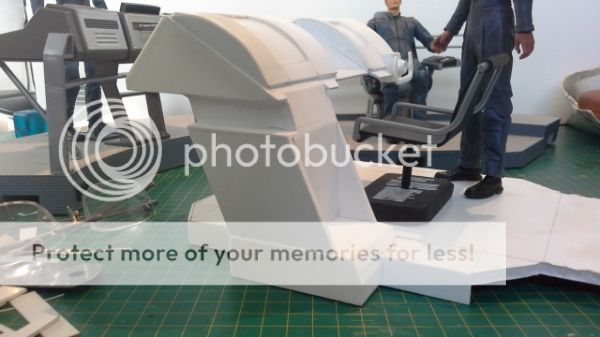
For the moment, (see picture below,) my Helm is too far to the left. This is simply because it is taped in place to,allow me to take pictures and check alignments etc. when the supporting pedastool is completed, only half of it will be on the base.

Image

Image

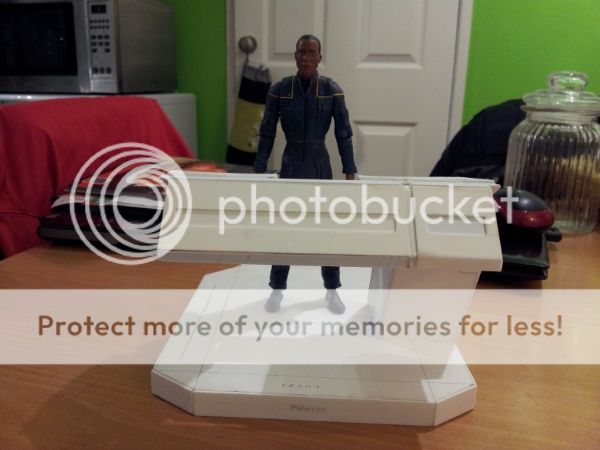
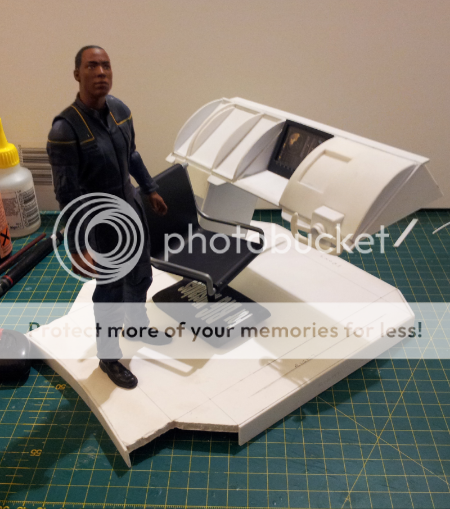
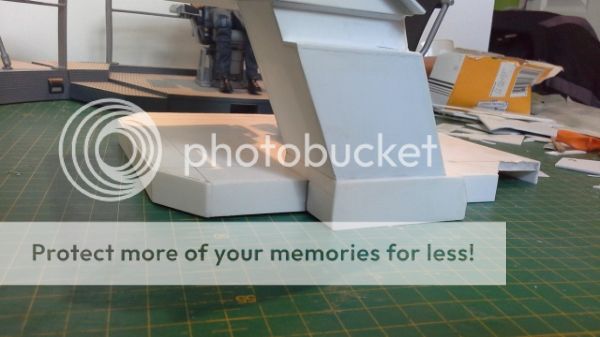
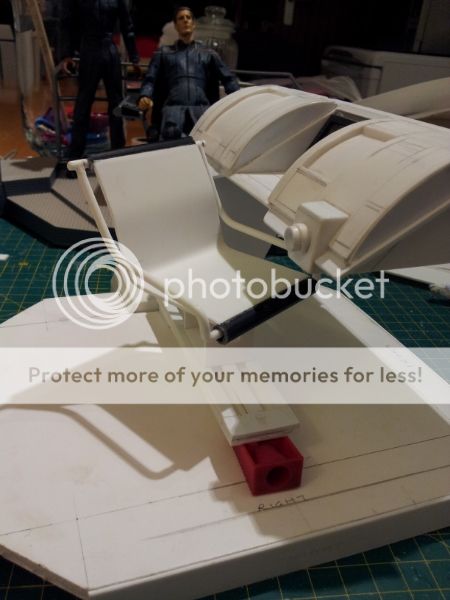
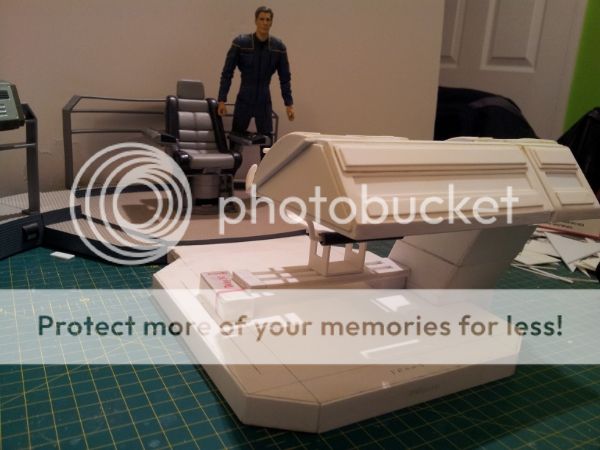
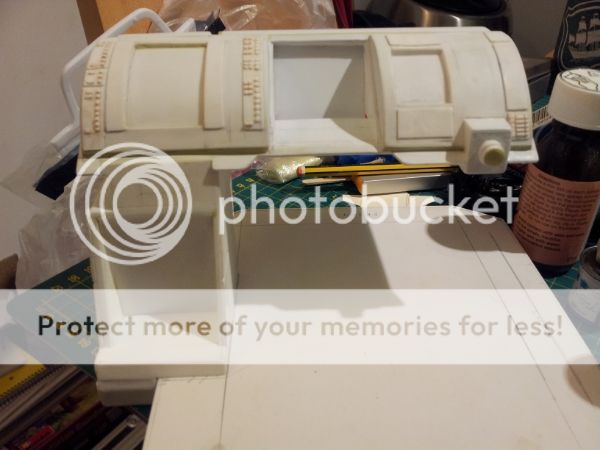
The helm console is now correctly positioned, as the support podium is now pretty much constructed.

Image

I have been fastidiously studying reference photos and I believe I have recreated it to an acceptable level of screen accuracy.

Image

There are still a lot of panelling details to add but that will come after I have finished the remaining construction and filled with and sanded the Milliput. Looking good though.

Image

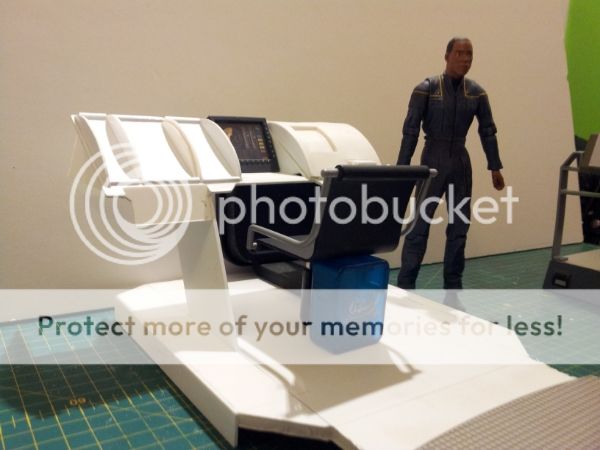
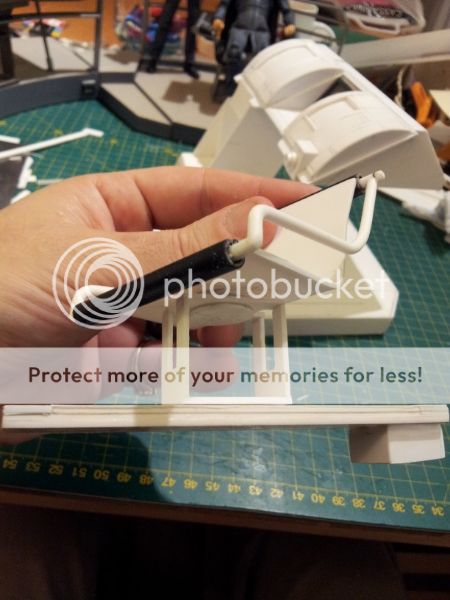
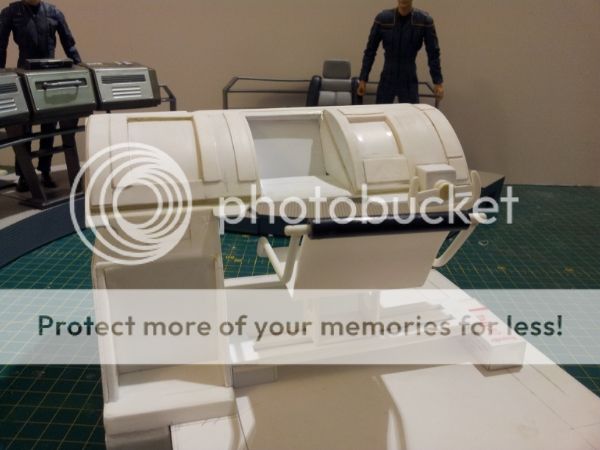
I also found time to scratch build the helm seat, which involved a few hours heating plastic sheet and rod in hot water. I also scratch built 90% of the slide rail it is mounted on. Hopefully, I will finish the rail off tomorrow.

Image

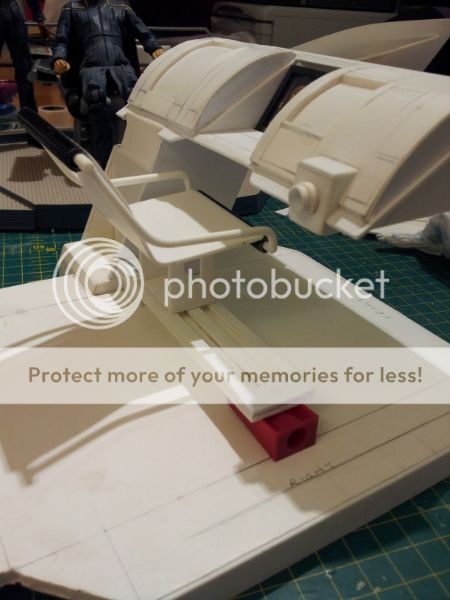
The seat does slide, just like the original.

Image

It also swivels like the original. It's all in the detail!

Image

Here's a peek under the seat at the mechanism. Simple but effective.

Image

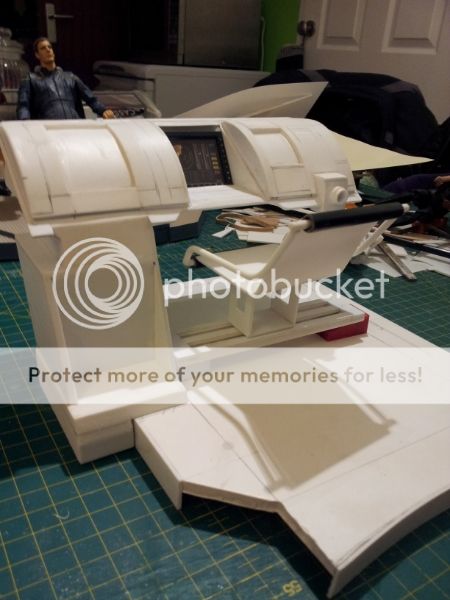
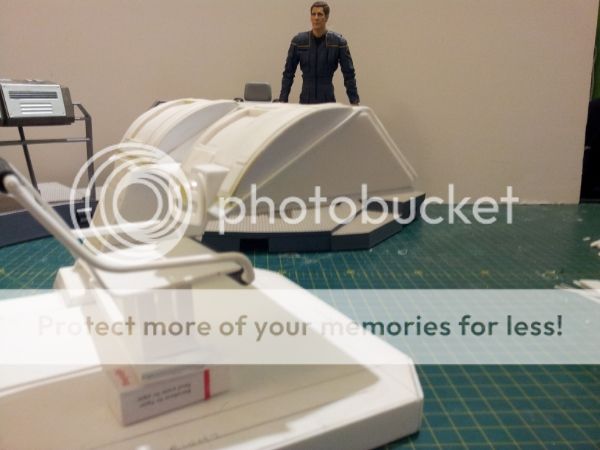
All in all, I think it is starting to shape up pretty well, and I am looking forward to Milliputting and then sanding this thing into shape!

Image

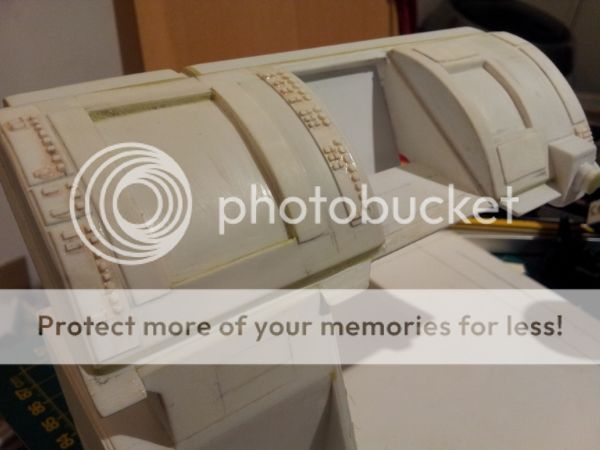
After what seems like an eternity of detail sanding the Milliput to give nice crisp edges etc, I managed to finally complete all the panel detailing. I have also been working on other parts, such as the "gear shift", hand rails and details that cannot be made from styrene sheet. I love Milliput! 
Anyway, the parts that have been made by sculpting will also be moulded and cast in plastic resin
and attached at the end.
so, here are a few pictures to let you all see for yourselves how it is looking. Hope you like it!

Image

Image

Image

Image

Image

Image

I have nearly finished the cutting and applying of all the console buttons. It's not 100% accurate but it's pretty close! I have also resized all the graphics, ready for printing. It's nice to finally start getting a little detail on this piece....
 
Image
 
Image

A lot of clean up now required to remove excess glue.
 
I will try to get the graphics printed ASAP to see how they look. 

Okay, the wife laid down the law today so little to no model making. Instead, getting the Christmas decorations from the attic, and top to bottom house work so everything is up to her standards...
 
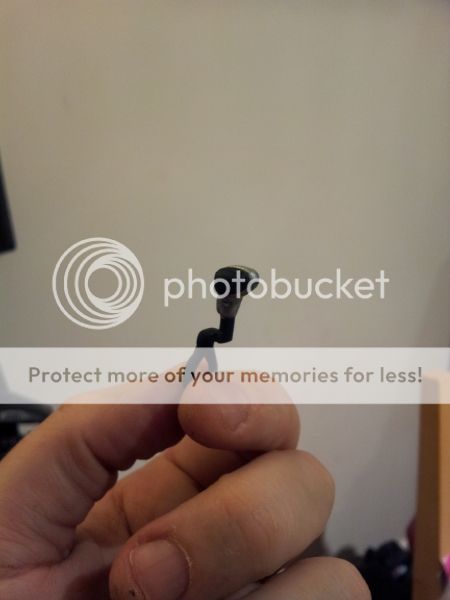
Oh, I did also get the gear shift assembled and roughly painted up.
 
Image

Image
 
Thanks for looking in and I hope you enjoyed my post.
More soon, hopefully!
Women with pointy ears turn me on......I know......I'm sick.....
User avatar
Moongrim
Fatidical Fleet Admiral
Posts: 4962
Joined: Tue Mar 12, 2013 9:36 pm
Location: West of Eugene Oregon.

Re: Art Asylum Broken Bow Deluxe Bridge set (Pic Heavy)

Post by Moongrim »

That's an outstanding level of attention to detail. Good Job! :)
There are Times, Sir, when men of good Conscience cannot blindly follow orders. You acknowledge their sentience, but ignore their personal liberties and freedoms. Order a man to hand over his child to the state? Not while I"m captain.
- J.L.Picard.
User avatar
hemble
Lighting Fast Lieutenant JG
Posts: 40
Joined: Thu Oct 04, 2012 1:46 am
Location: Townsville/Australia
Contact:

Re: Art Asylum Broken Bow Deluxe Bridge set (Pic Heavy)

Post by hemble »

Looking awesome mate, I can't wait to see this complete.

Ron
User avatar
TrekMD
Head of Starfleet Medical
Posts: 1754
Joined: Mon Nov 19, 2012 9:57 pm
Location: Coral Gables, FL
Contact:

Re: Art Asylum Broken Bow Deluxe Bridge set (Pic Heavy)

Post by TrekMD »

Fantastic! This looks awesome!
Medicus ad astra, non laedant...
Image
Atlanthia
Lighting Fast Lieutenant JG
Posts: 30
Joined: Wed Dec 18, 2013 8:40 pm
Location: Truro, UK

Re: Art Asylum Broken Bow Deluxe Bridge set (Pic Heavy)

Post by Atlanthia »

I cannot thank you enough for your kind words, Gentlemen :) it's very much appreciated! I hope to have an update this evening, all being well.
Women with pointy ears turn me on......I know......I'm sick.....
Atlanthia
Lighting Fast Lieutenant JG
Posts: 30
Joined: Wed Dec 18, 2013 8:40 pm
Location: Truro, UK

Re: Art Asylum Broken Bow Deluxe Bridge set (Pic Heavy)

Post by Atlanthia »

Okay, so I am encountering some significant problems with the Helm Construction, notably, trying to reproduce the flooring texture that appears on all the other pieces. The problem is that every time I cast from the mould the finished resin piece is full of bubbles. They are clinging to all those little holes in the mould no matter how slow I pour. So, until I can resolve the issue I have put it to one side and directed my mind elsewhere. Now, I have stated, I think, quite clearly that it is not my intention to build anything other than the Helm station but if I ever did, it would probably look a lot like this.

Image

I just can't help myself, can I !!!??? :rolleyes: It was just grating on my nerves that the platforms for T'Pol's and Reeds stations were too narrow front to back so I built a new one to the correct size.....and then I made the floor tracks for the chair to slide in....

Image


So pretty soon, I had the back walls bashed out and I started on the rear console.

Image

Image

This is actually T'pols console but She's without a head at the moment so I set it up on the other side of the bridge. Here's a detail shot.

Image
So, to stop me going down this crazy route, building ANOTHER 3.5 foot wide bridge, can someone please help me to solve my flooring issue???
:lol:
Women with pointy ears turn me on......I know......I'm sick.....
zookman
Crafty Commodore
Crafty Commodore
Posts: 1481
Joined: Fri Nov 09, 2012 2:29 am

Re: Art Asylum Broken Bow Deluxe Bridge set (Pic Heavy)

Post by zookman »

what does the original floor part look like .
User avatar
Tesral
Administrator
Administrator
Posts: 4937
Joined: Tue Dec 18, 2012 12:58 pm
Location: Dearborn, Mi -- at my desk.
Contact:

Re: Art Asylum Broken Bow Deluxe Bridge set (Pic Heavy)

Post by Tesral »

Pressure pot. Cast the part under pressure.

Ask around ans see who has one,
Garry AKA --Phoenix-- Rising above the Flames.
"I saw it done on Voyager" is no excuse for anything, even breathing.
Greyryder
Can-Do Captain
Can-Do Captain
Posts: 575
Joined: Sat Aug 03, 2013 4:06 am
Contact:

Re: Art Asylum Broken Bow Deluxe Bridge set (Pic Heavy)

Post by Greyryder »

Atlanthia wrote:Okay, so I am encountering some significant problems with the Helm Construction, notably, trying to reproduce the flooring texture that appears on all the other pieces. The problem is that every time I cast from the mould the finished resin piece is full of bubbles. They are clinging to all those little holes in the mould no matter how slow I pour.
Dust the molds with baby powder. It helps to pull the resin into the details and crevices. If it's an open face mold, you can pick the bubbles out manually, with a piece of wire.

Could also be the resin you're using. I tried Smooth-On's Smooth-Cast, and I swear the stuff is self carbonating. I've gone back to Polytek's EasyFlo resins.
User avatar
hemble
Lighting Fast Lieutenant JG
Posts: 40
Joined: Thu Oct 04, 2012 1:46 am
Location: Townsville/Australia
Contact:

Re: Art Asylum Broken Bow Deluxe Bridge set (Pic Heavy)

Post by hemble »

This is looking amazing and I hope you get the molds to work out.

Ron
Post Reply

Return to “General Trek”