No, no. That's the wrong one!
Hailing Frequencies open! (There! That's better!)
Since my NSEA Protector is pretty much done, I've decided to begin another build - the 1-1400 AMT Enterprise-C!

I am going to try and enter my Protector in the IPMS Region 6 ModelFiesta 37 in February. I'm gonna push myself to try and get The Enterprise-C done in time to enter it into the IPMS Houston Modelmania 2018 on 28 April 2018.
Setting deadlines for myself will also help me get more than one model a year done. At least that's the plan. ;D
This model is a gift from my daughter, the same one that found and gifted me my first build (TOS 1/650 Enterprise), so this one has some memories attached to it as well.
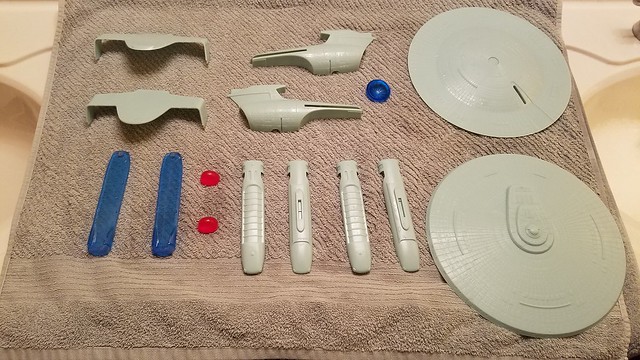
I bought the extra parts for the warp Engines and the Deflector from Don's Light and Magic as I want to do right by the build, but neither do I want to do extensive modifications to the build like I did for the TOS Romulan BoP and the NSEA Protector. I am trying to stay as OOB as I can. We will see.
 20161013_162938 DLM Parts
I plan to light it, of course, and drill out a majority of the windows. I also want to paint it more in keeping with the traditional Federation paint schema. I KNOW it is canon, but just can't see painting a Starship Duck-egg Blue and white; even if the Federation is trying out a "kinder, gentler" theme. So I will be going with a grey scale theme.
I also want to put blinking running lights on it and will be trying my hand at designing and making a 555 timer circuit. A fellow builder made and gave me the one for my Protector but I am trying to push myself to learn how to build my own. I also have an idea about the switching over of the impulse engines to Warp, but I may have to post a few questions on the site before that happens.
So far I've wash the parts so they would take the primer and paint well.
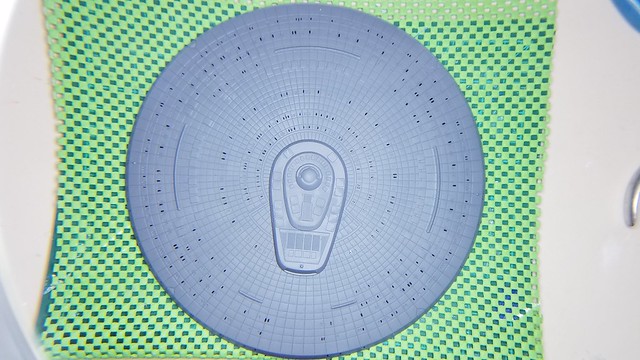
 20171117_155630
I decided to follow angyscifimodeler's lead and do something about the edge of the saucer. (If you look him up, be aware he is called "angry" for a reason!") He filed the edge of his. I am using Perfect Plastic Putty (PPP) to fill in the troughs around the rim. I was trying to fill in the troughs without filling in the windows, but it looks like I just made more work for myself.
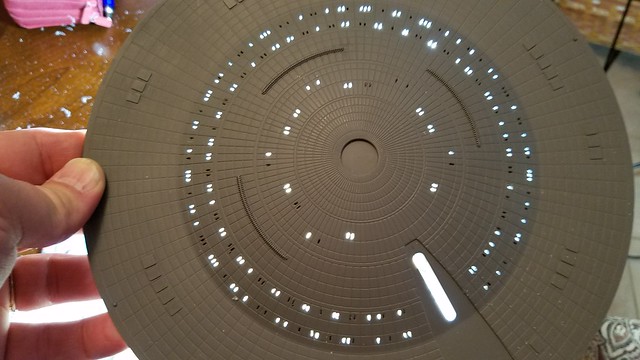
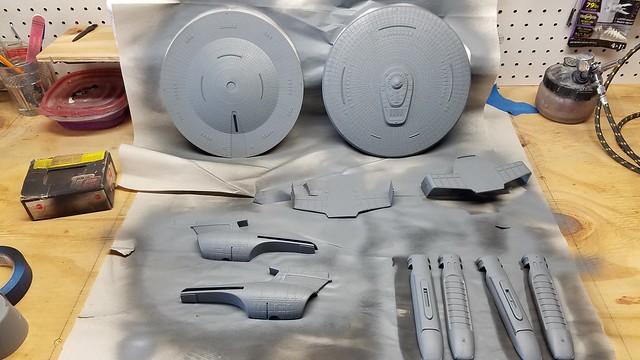
 20171117_163251
 I may have jumped the gun and have put primer and flight blocking on the insides. In spraying the primer on the saucer, I have lost some definition of where the rim windows are. Again, something to work out.
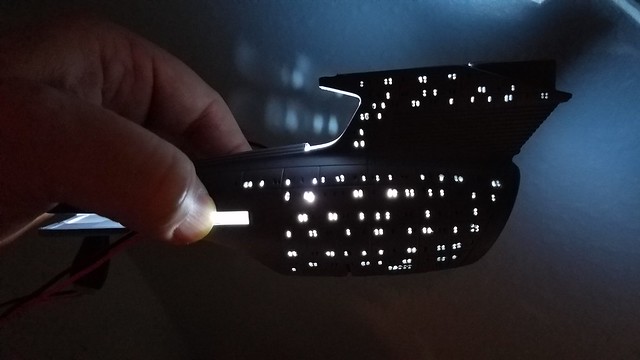
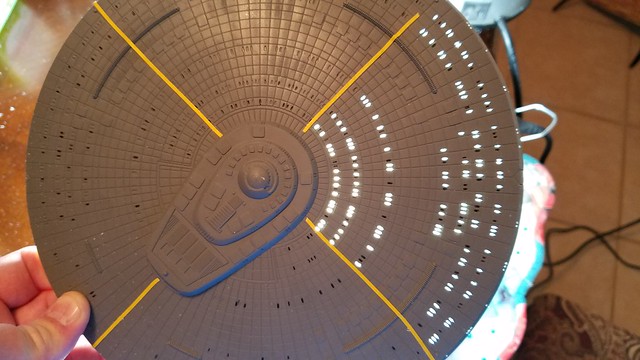
 20171118_095324
I probably should have cut the windows before spraying the primer, but it's already done so I will deal with it. I marked the "off" windows with a permanent marker and then started drilling out windows on the secondary hull.
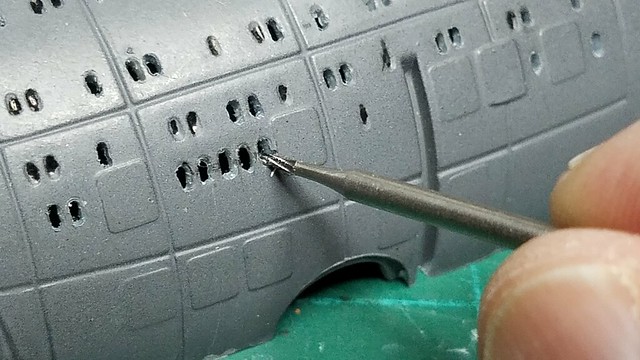
 20171124_092947
I read where some builders drill two holes, top and then bottom, and then use an xacto blade to cut out the rest. I tried that, but am not entirely happy with the results.
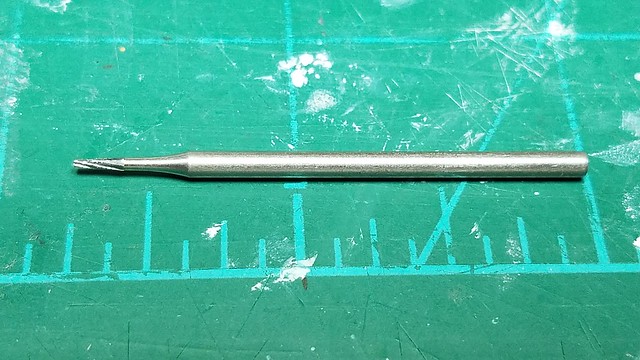
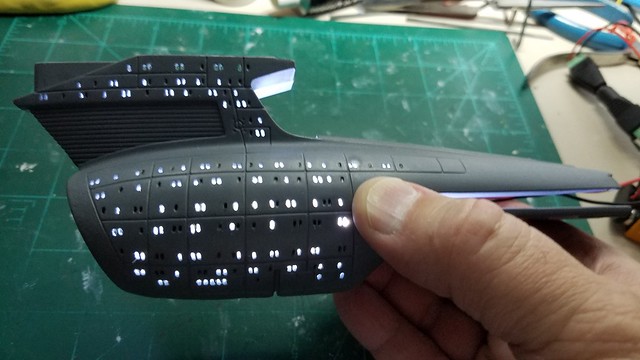 20171203_171558
I am gonna try something with a fissure bur and my Dremel. I have a few left over dental burs I can try. If not successful, I may have to pose another question for alternative in the questions section.
Anyway, that's where I am for now. May not get as much done during the holidays as I would hope, but I will post what I can when I can!
Thanks for your comments and for following along with me on another build!
May the wind be at our backs!
Steve