
The instruction sheet says "Glue (recommended Testors plastic model cement)".
The vacuform plastic on this kit is pretty thick. I found a review on SSM from 2001 (written by John "OneZero" Lester) stating that the kit he reviewed was 40 thou sheet, but that Cory McDaniel had stated he was going to be making future kits with 60 thou or 80 thou sheet. I'm not sure where my kit fell in the production run, and the battery in my digital caliper is dead so I can't get a measurement.
1:650 Surya Class (final pics page 5)
-
Lonewolf
- Crafty Commodore

- Posts: 1105
- Joined: Sun Oct 07, 2012 11:06 pm
- Location: Up to my eyebrows in unbuilt models!
- Contact:
Re: 1:650 Surya Class
Check out the Sci-Fi Model Kit Directory - A searchable resource with kit reviews and information on how to find the kit you're looking for! Visit http://www.sfmkd.com today!
-
Lonewolf
- Crafty Commodore
- Posts: 1105
- Joined: Sun Oct 07, 2012 11:06 pm
- Location: Up to my eyebrows in unbuilt models!
- Contact:
Re: 1:650 Surya Class
Finally have time for an update. I apologize for not getting to this sooner. I've been swamped at home.
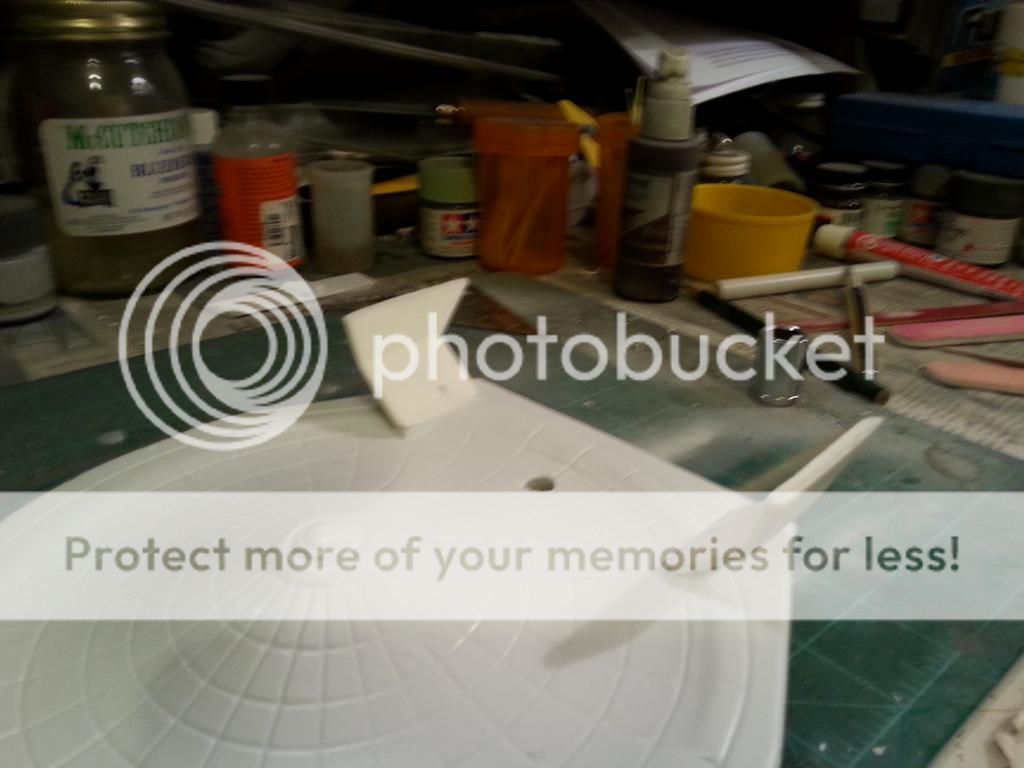
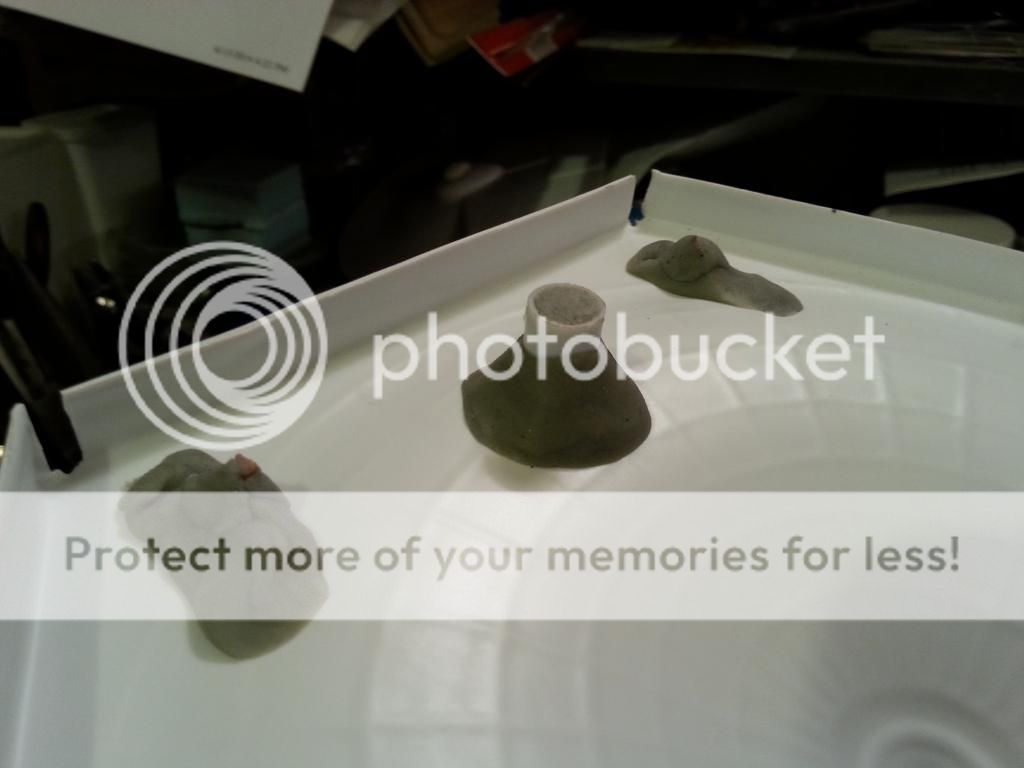
First some photos of the trimmed parts.
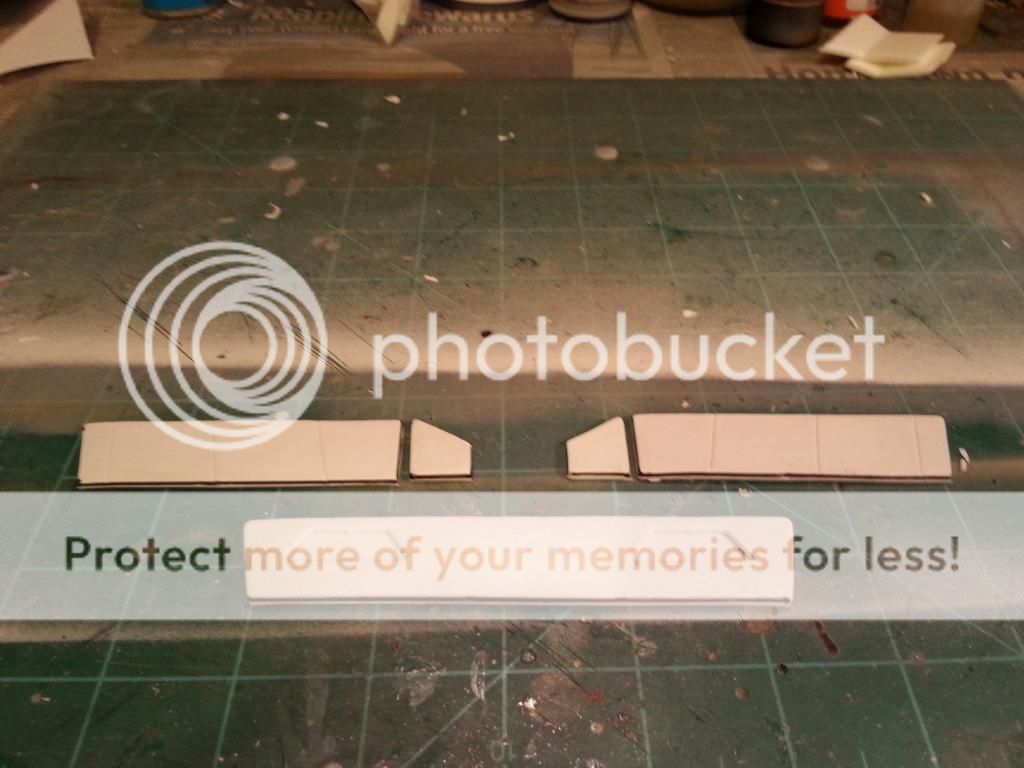

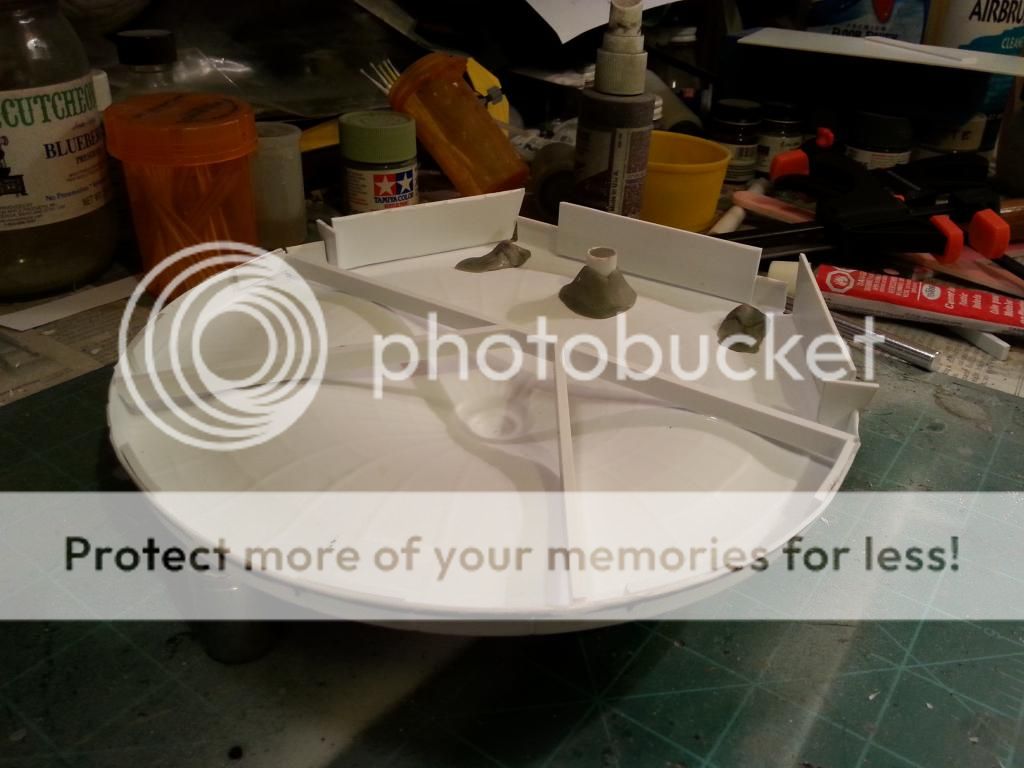
This shows the notches that have been cut to allow for the placement of side shims and supports.

Cut-outs for the resin warp nacelle pylons.
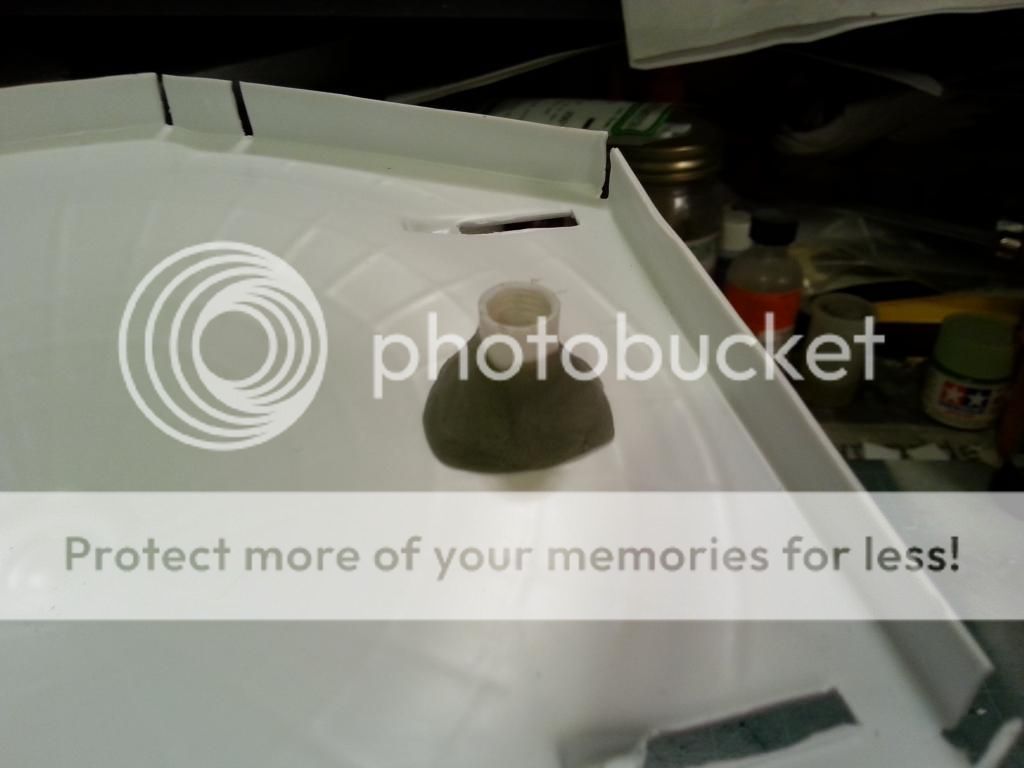
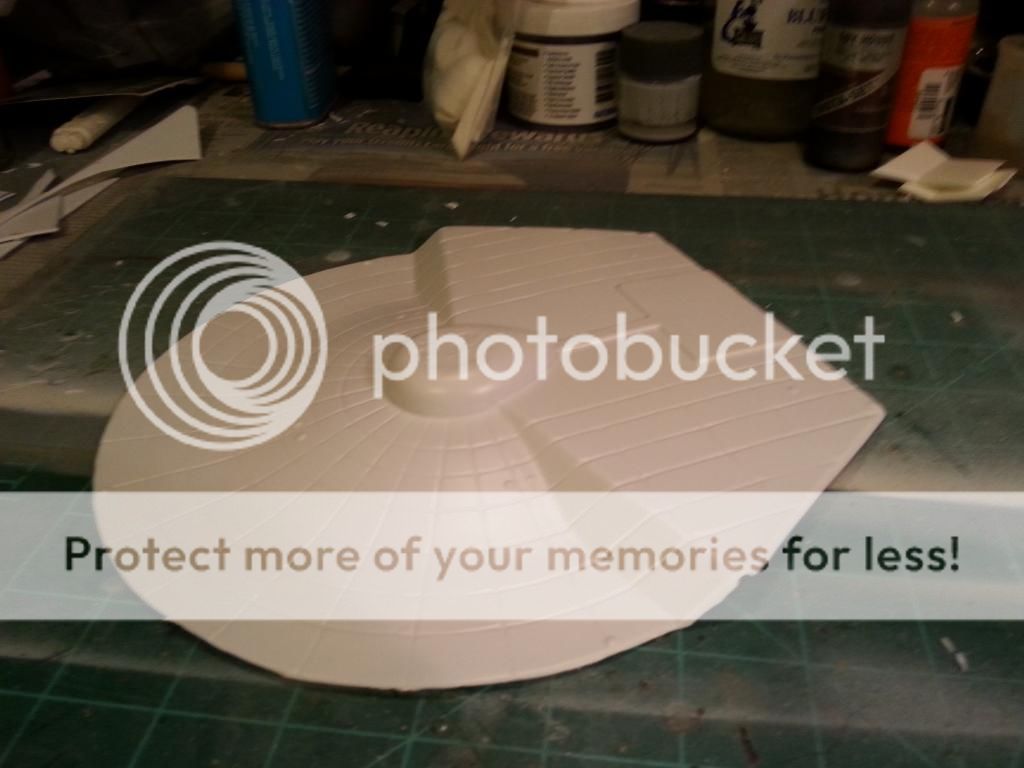
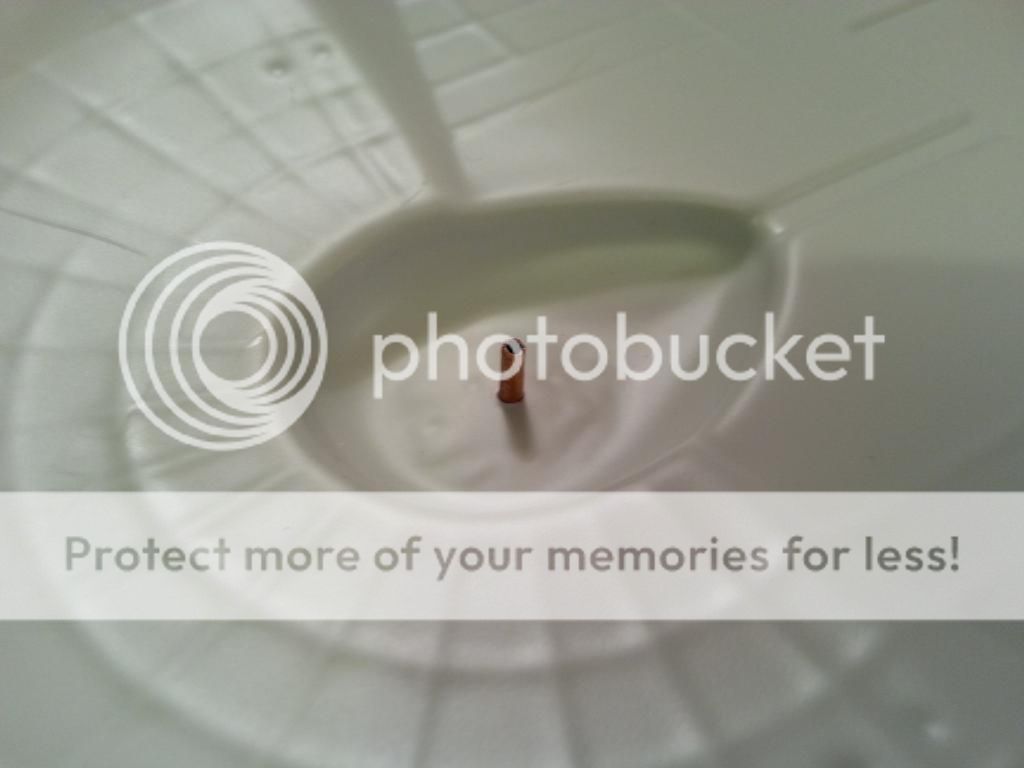
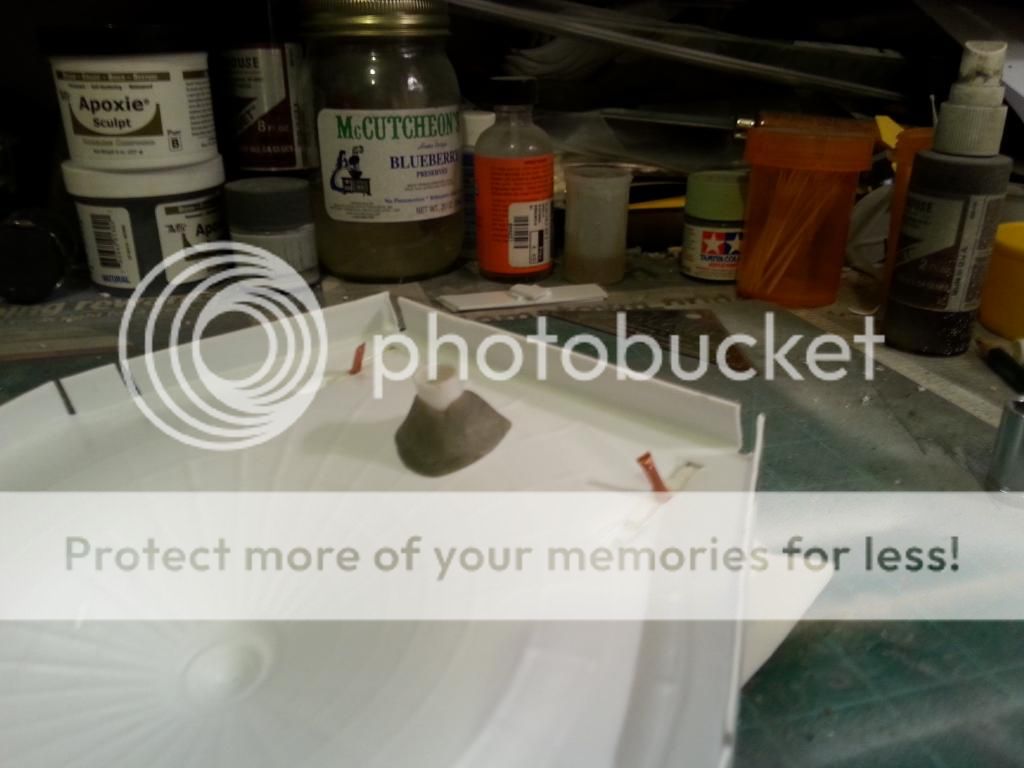
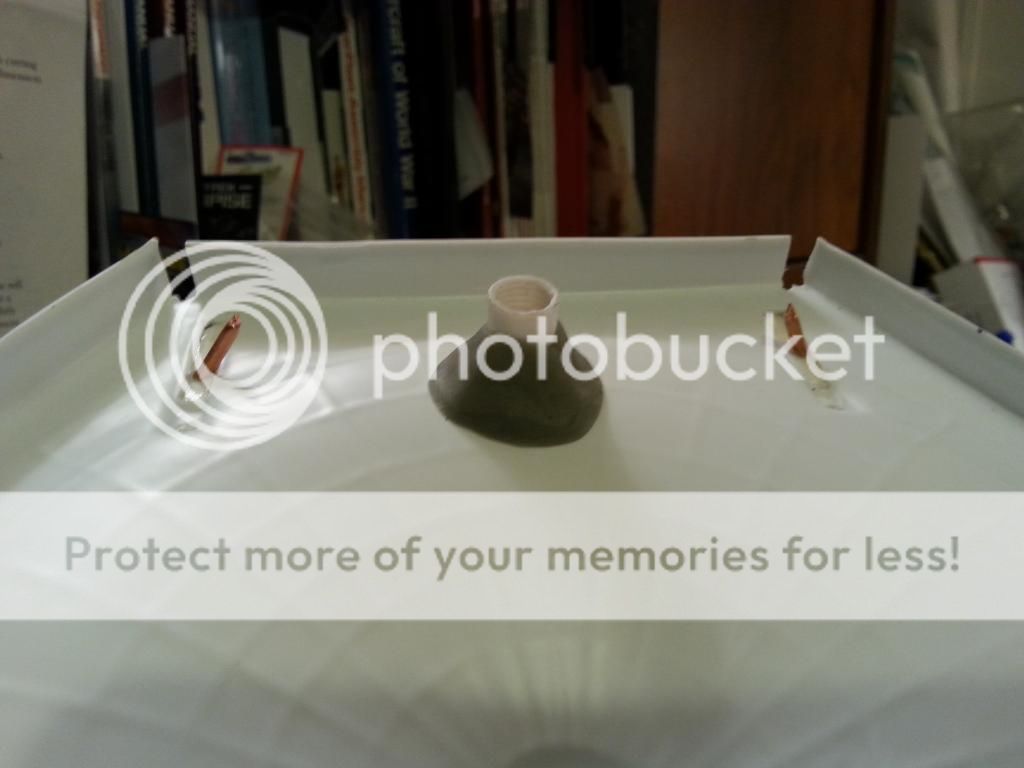
Internal support for the stand rod. It's a plastic collar from a marker, super-glued in place, and secured with Aves.
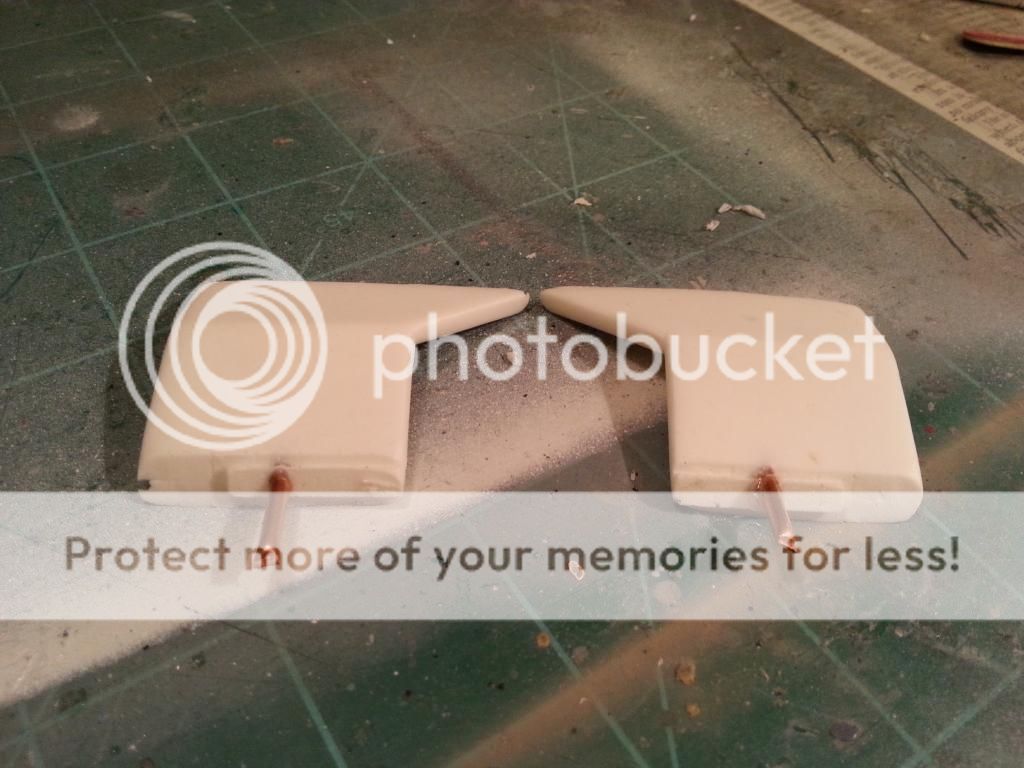
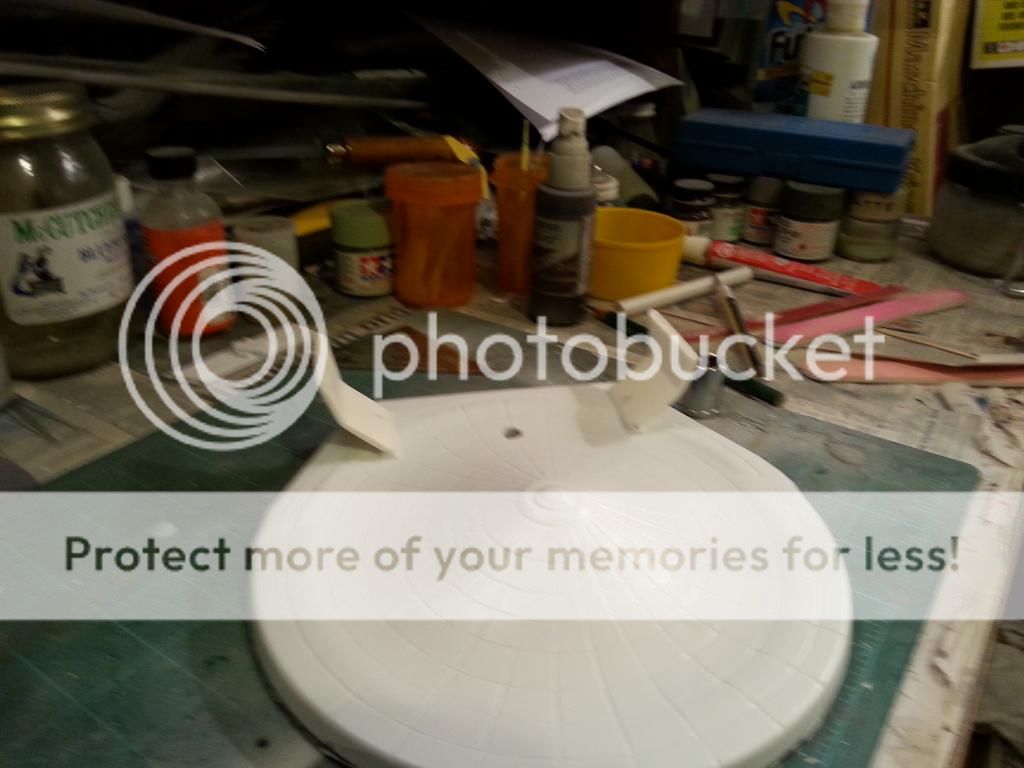
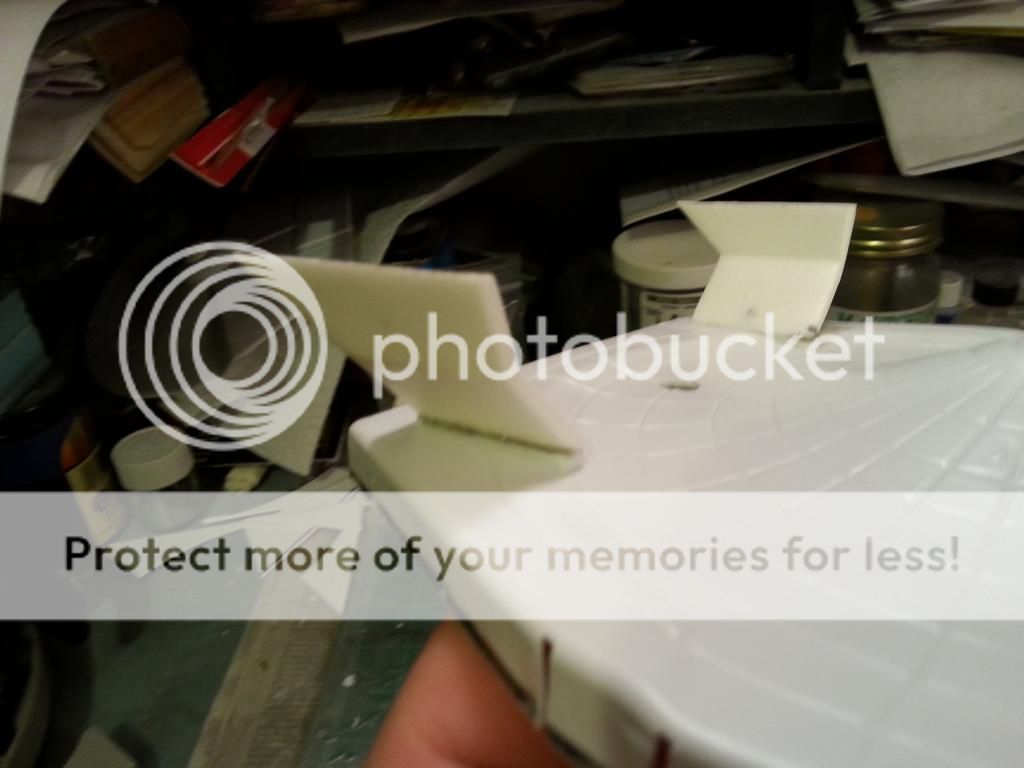
Resin warp nacelle pylons with brass pins for additional "tooth" when installing. The only mounting surface is the cast-in raised section on the top of the pylon, and that has to support the weight of the entire nacelle. I don't trust it to hold without some reinforcement.
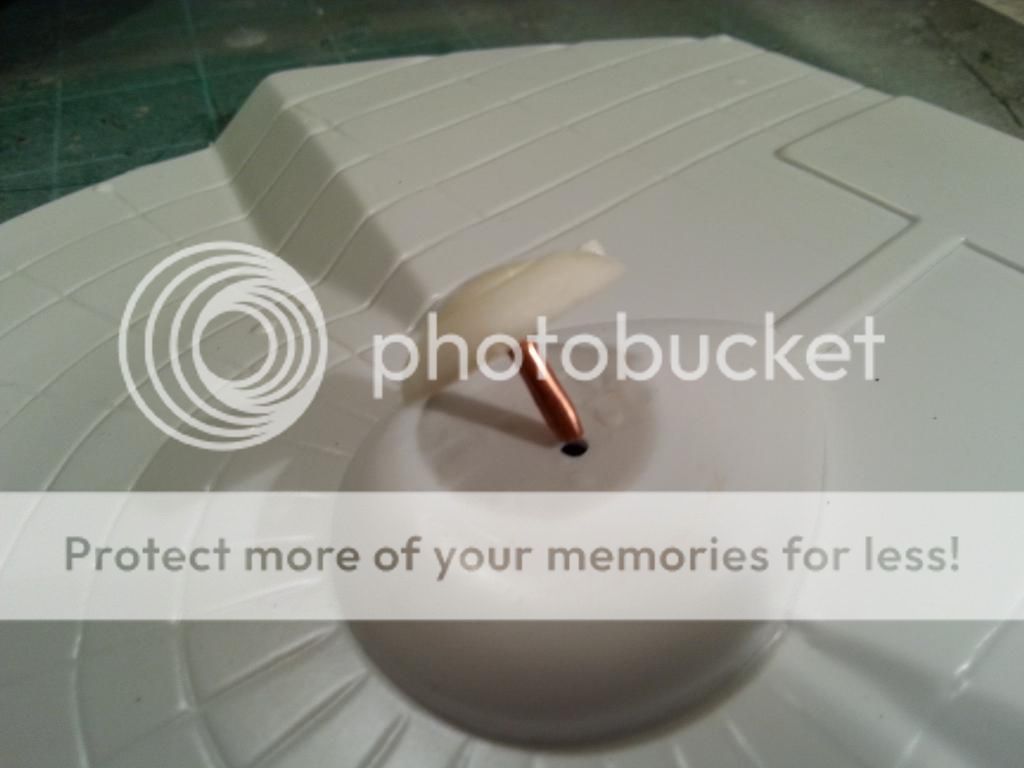
Brass pin into the underside of the resin bridge module.
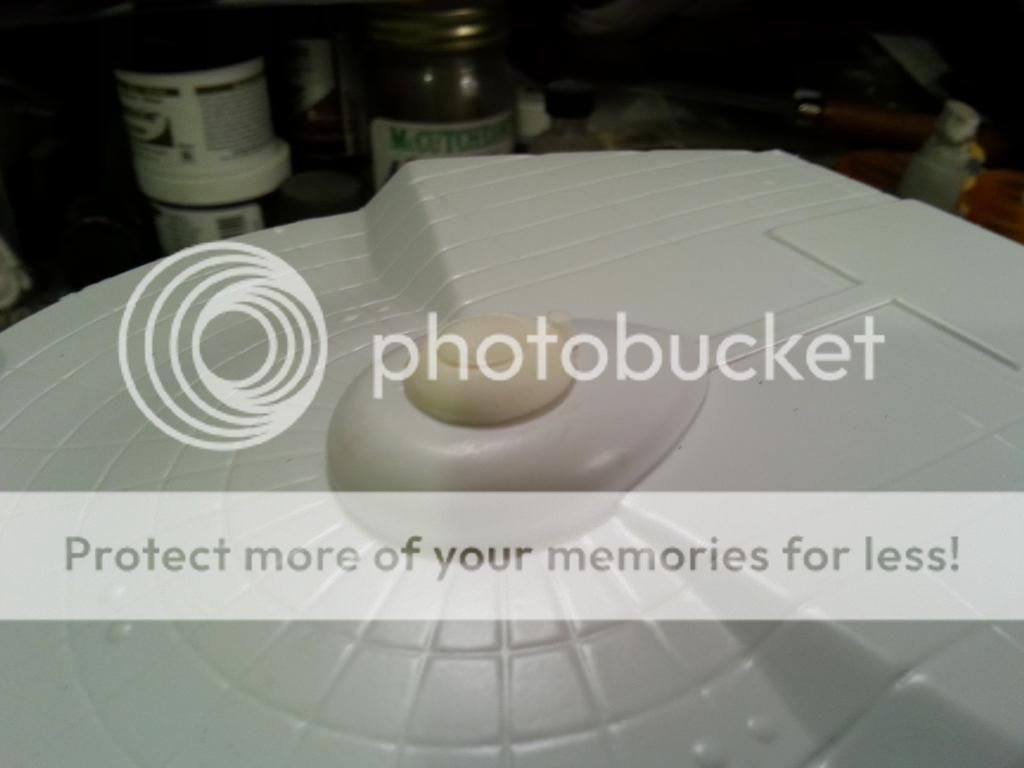
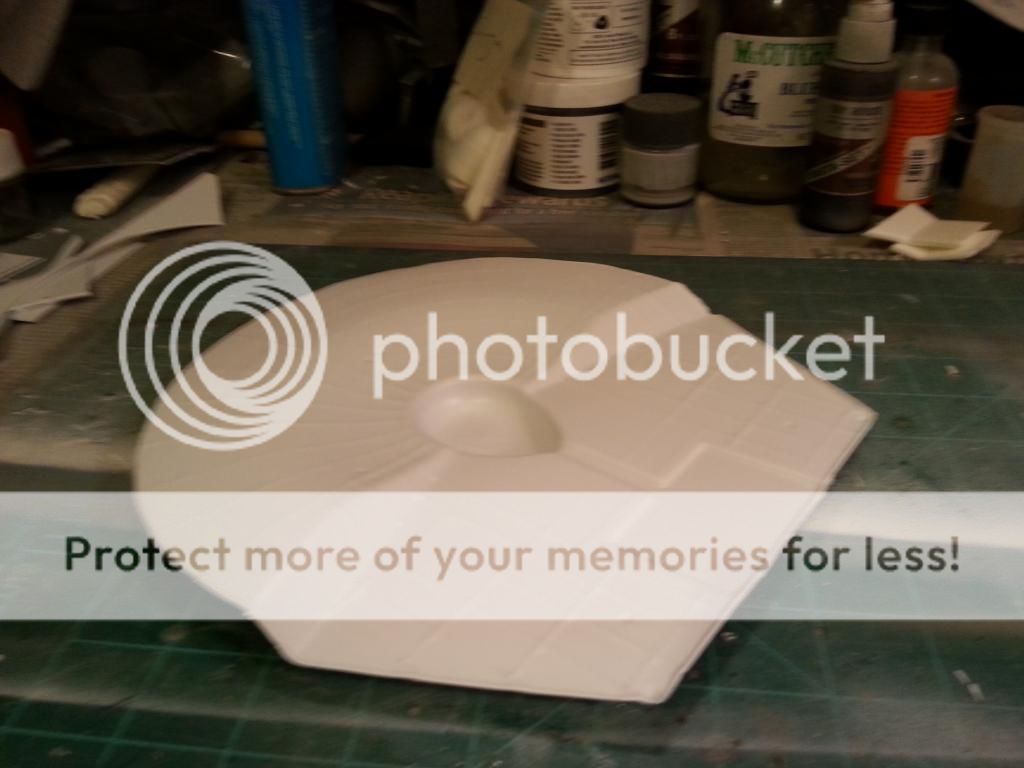
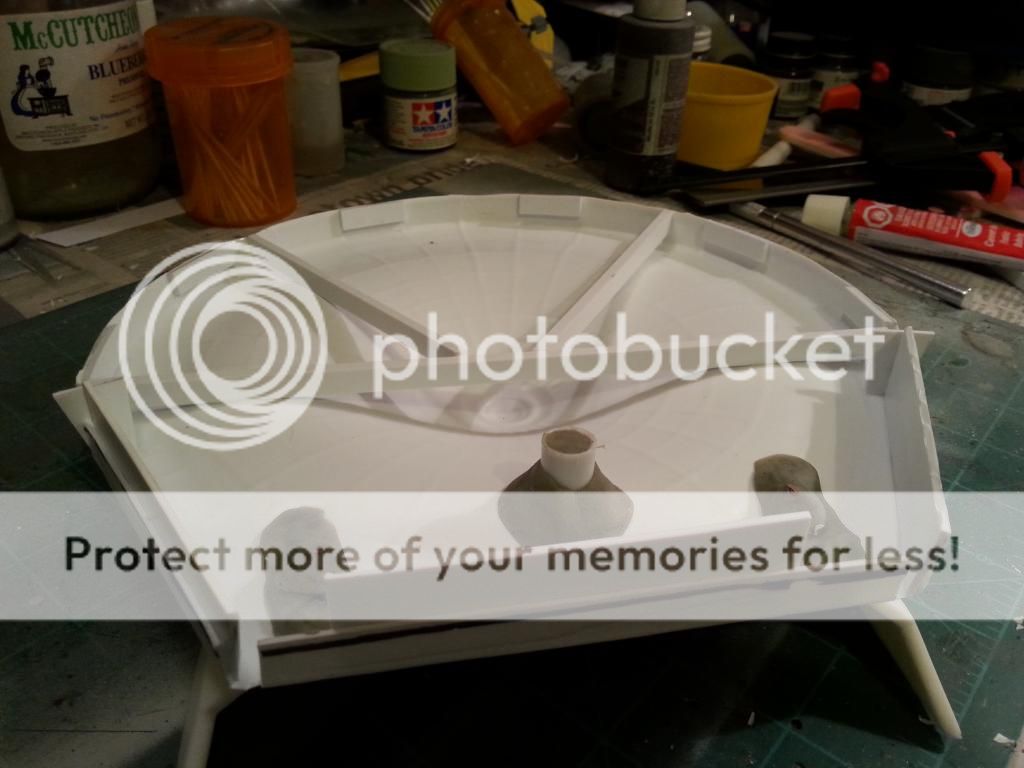
Test-fitting the bridge.
Inside the primary hull, showing the bridge mount.
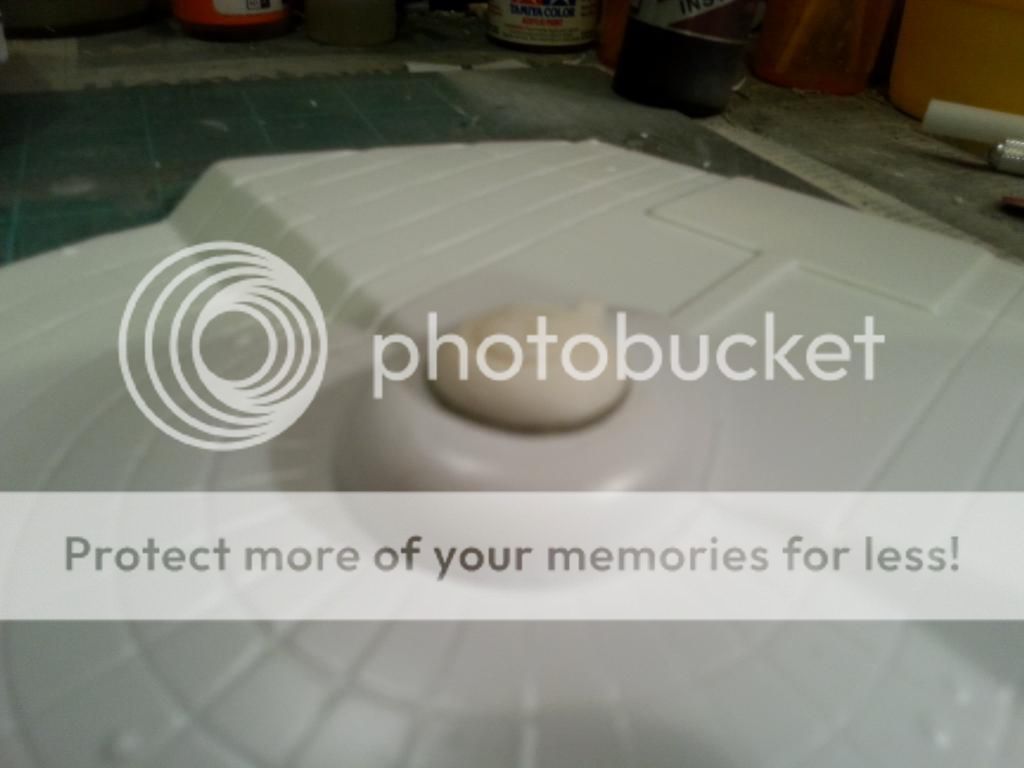
The bridge is in place. I didn't use glue on this. I put a blob of Aves underneath the resin bridge, pushed the bridge into position (which squeezed the Aves out around the edges), and used a dental tool to scrape away the excess Aves. The epoxy will create a stronger bond than glue, and it fills any gaps without me needing to go back and sand later.
That's all for now! I'll post more photos as work progresses.
First some photos of the trimmed parts.
This shows the notches that have been cut to allow for the placement of side shims and supports.
Cut-outs for the resin warp nacelle pylons.
Internal support for the stand rod. It's a plastic collar from a marker, super-glued in place, and secured with Aves.
Resin warp nacelle pylons with brass pins for additional "tooth" when installing. The only mounting surface is the cast-in raised section on the top of the pylon, and that has to support the weight of the entire nacelle. I don't trust it to hold without some reinforcement.
Brass pin into the underside of the resin bridge module.
Test-fitting the bridge.
Inside the primary hull, showing the bridge mount.
The bridge is in place. I didn't use glue on this. I put a blob of Aves underneath the resin bridge, pushed the bridge into position (which squeezed the Aves out around the edges), and used a dental tool to scrape away the excess Aves. The epoxy will create a stronger bond than glue, and it fills any gaps without me needing to go back and sand later.
That's all for now! I'll post more photos as work progresses.
Check out the Sci-Fi Model Kit Directory - A searchable resource with kit reviews and information on how to find the kit you're looking for! Visit http://www.sfmkd.com today!
-
Lonewolf
- Crafty Commodore
- Posts: 1105
- Joined: Sun Oct 07, 2012 11:06 pm
- Location: Up to my eyebrows in unbuilt models!
- Contact:
Re: 1:650 Surya Class
Whew! Where has the weekend gone?
I worked all day yesterday at an auction for my in-laws. They run a business specializing in estate and moving auctions. Yesterday we ran a two-ring auction that lasted about six hours. I was beat by the time I got home, and didn't even sit down at my hobby desk.
Today I got the remaining aft bulkhead spacing sheets cut out. I also got the warp nacelle pylons glued in place, and after letting them dry for a few hours, I put Aves over the tops of the brass pins I installed. That should keep them locked in place. I also used Aves for gap filling between the top of the pylons and the underside of the primary hull.
Last edited by Lonewolf on Tue Aug 05, 2014 8:02 pm, edited 1 time in total.
Check out the Sci-Fi Model Kit Directory - A searchable resource with kit reviews and information on how to find the kit you're looking for! Visit http://www.sfmkd.com today!
-
el gato

- Fatidical Fleet Admiral

- Posts: 6050
- Joined: Thu Apr 04, 2013 8:41 pm
- Location: In a land whose boundaries are that of imagination
Re: 1:650 Surya Class
Looks good, LW. Pardon my asking, but I'm unclear on the type of glue you're going to us on this kit. It sounds like you're leaving it open to be joint-specific, as opposed to using the same technique across the board.
RogueWolf wrote:I've sacrificed many dozens (maybe even hundreds) of gummy bears to the dark modeling gods to grant me my wish... but I fear my offerings only amuse them, not appease them.
-
Lonewolf
- Crafty Commodore
- Posts: 1105
- Joined: Sun Oct 07, 2012 11:06 pm
- Location: Up to my eyebrows in unbuilt models!
- Contact:
Re: 1:650 Surya Class
For anything that's styrene-to-styrene, I'm using good old-fashioned Testor's model cement in the red tube.
For the resin-to-styrene, I'm using Super Glue Gel, and reinforcing the joints with Aves Epoxy Sculpt. The super glue holds the parts in place initially, and I use the Aves to provide extra gripping power.
In the case of the bridge dome, it was easier to just use Aves to attach the bridge to the styrene hull section. It would have been a bear to deal with if I'd gone the regular "glue then fill and sand" route. The hull and bridge joint is very rounded, and I didn't want to mess it up. It would be way too easy to flatten the rounded surfaces with a sanding stick.
Any time you have mixed media, or just straight resin, you have to use super glue, either the runny stuff, or the gel, which I prefer because it stays where I put it. I could have used 5-minute epoxy, but I was afraid it would be too "hot" for the vacuform styrene.
I will try to get photos posted tonight in my last entry showing how I reinforced the joints.
Check out the Sci-Fi Model Kit Directory - A searchable resource with kit reviews and information on how to find the kit you're looking for! Visit http://www.sfmkd.com today!
-
Lonewolf
- Crafty Commodore
- Posts: 1105
- Joined: Sun Oct 07, 2012 11:06 pm
- Location: Up to my eyebrows in unbuilt models!
- Contact:
Re: 1:650 Surya Class
Construction will be delayed for a while. The Aves that I've been using has apparently gone bad. One warp nacelle pylon came completely off today, despite being super-glued and also reinforced with Aves.
The SSM Store is showing "out of stock" on Aves, and I'm gonna have to order from Aves directly after I get paid. There's no point in going forward with construction until I get more Aves, because I'm gonna have a boatload of gaps to fill.
The SSM Store is showing "out of stock" on Aves, and I'm gonna have to order from Aves directly after I get paid. There's no point in going forward with construction until I get more Aves, because I'm gonna have a boatload of gaps to fill.
Check out the Sci-Fi Model Kit Directory - A searchable resource with kit reviews and information on how to find the kit you're looking for! Visit http://www.sfmkd.com today!
-
Lonewolf
- Crafty Commodore
- Posts: 1105
- Joined: Sun Oct 07, 2012 11:06 pm
- Location: Up to my eyebrows in unbuilt models!
- Contact:
Re: 1:650 Surya Class
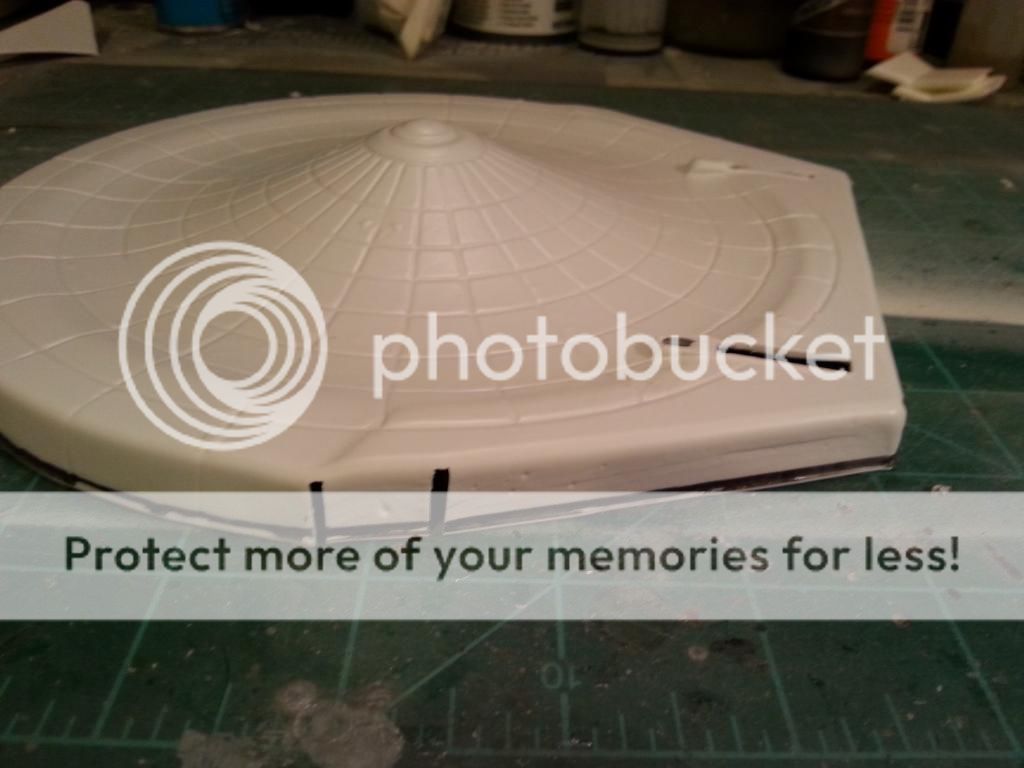
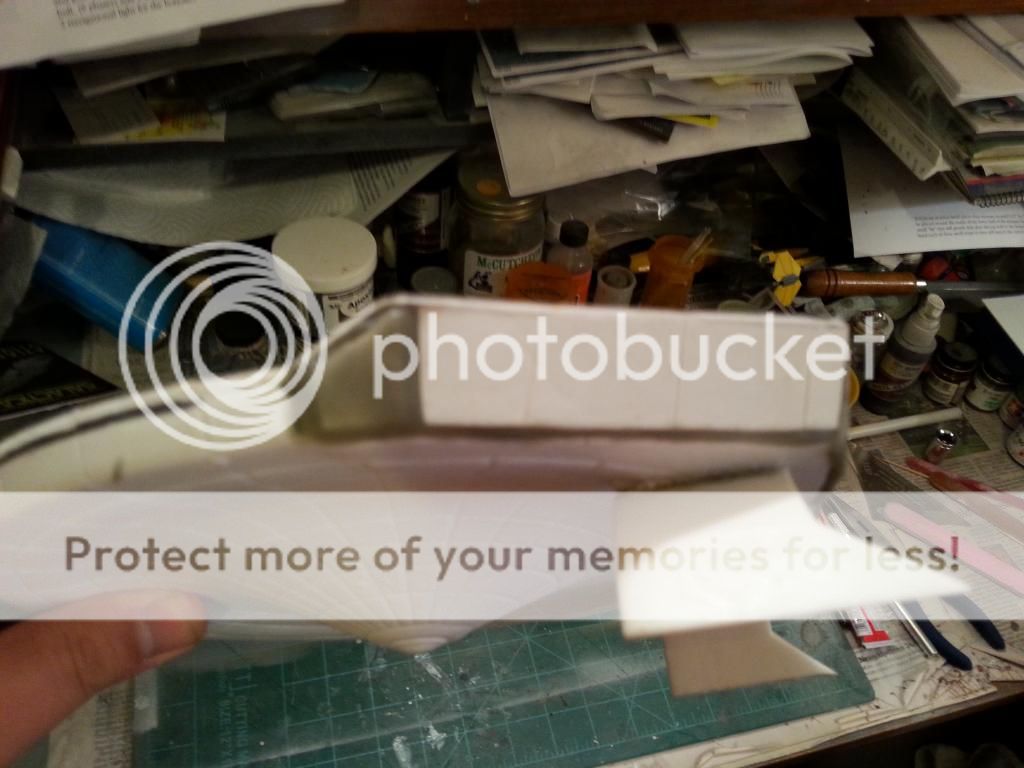
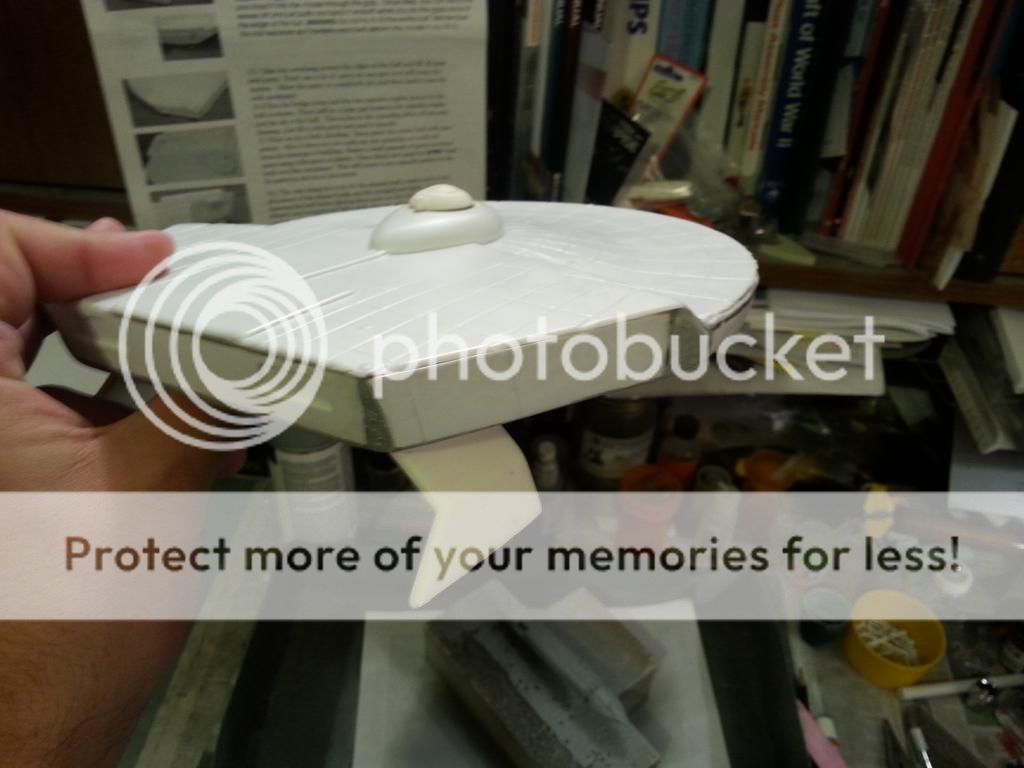
Scraped together enough good Aves from the old batch to reattach the warp nacelle pylon. I got the interior framing done for the saucer support, and tonight I attached the top of the primary hull.
The photo above allows a good view of the "lip spacers" along the rounded edge of the hull. I had to sand these down a little before I put the upper hull in place.
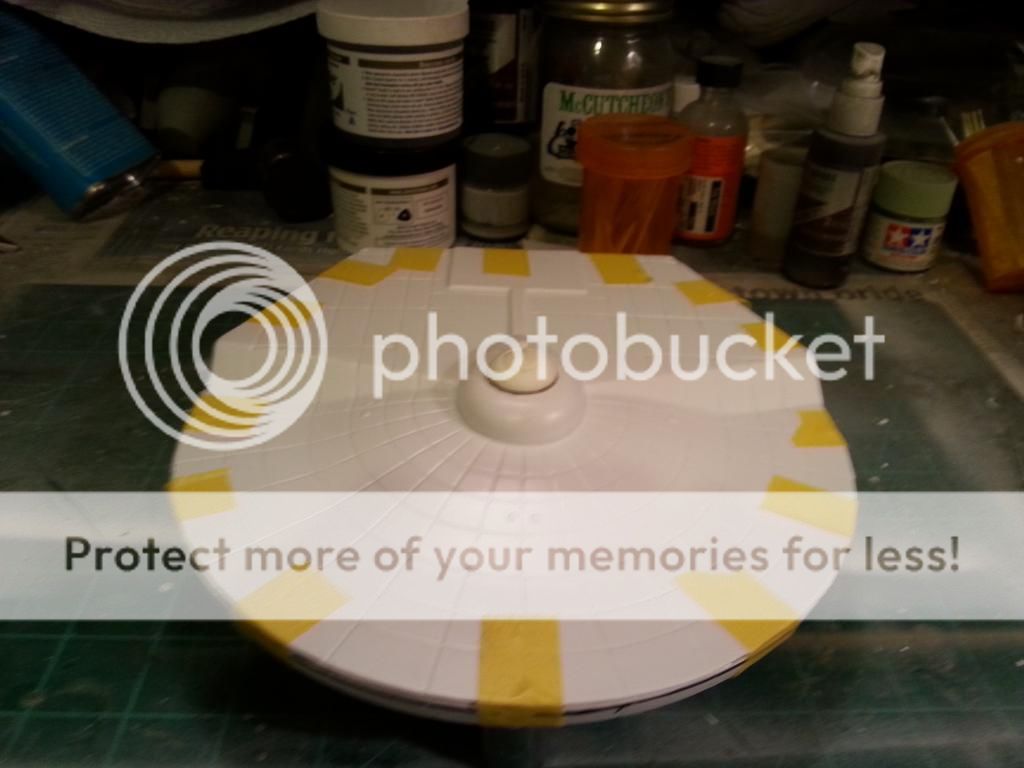
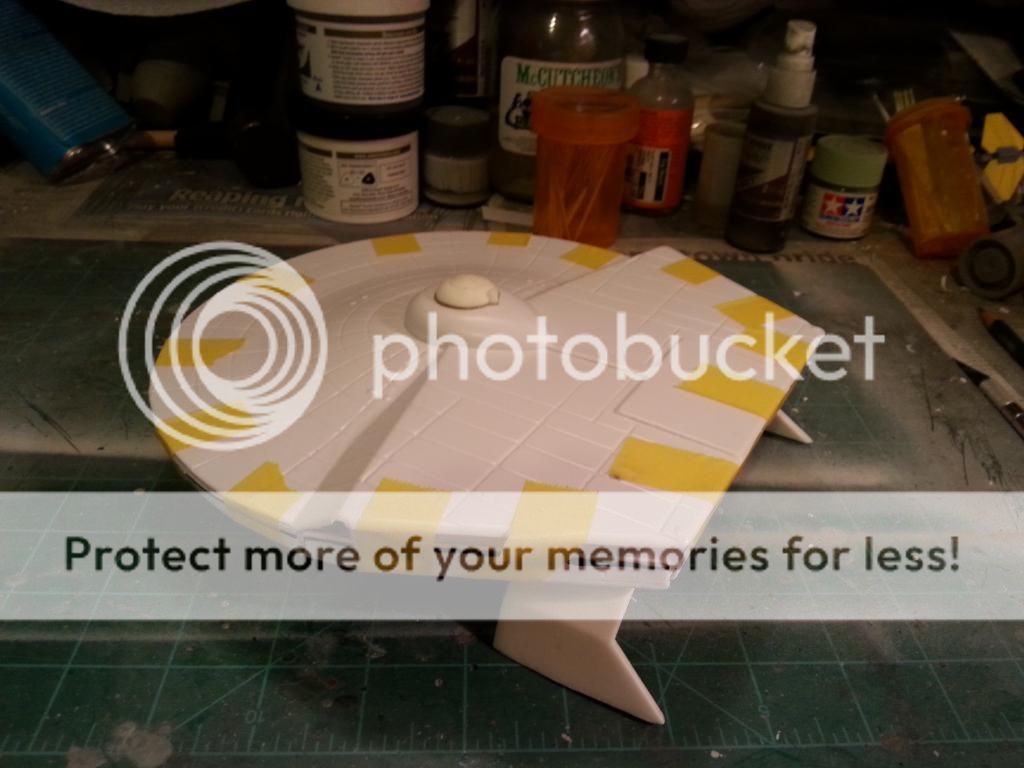
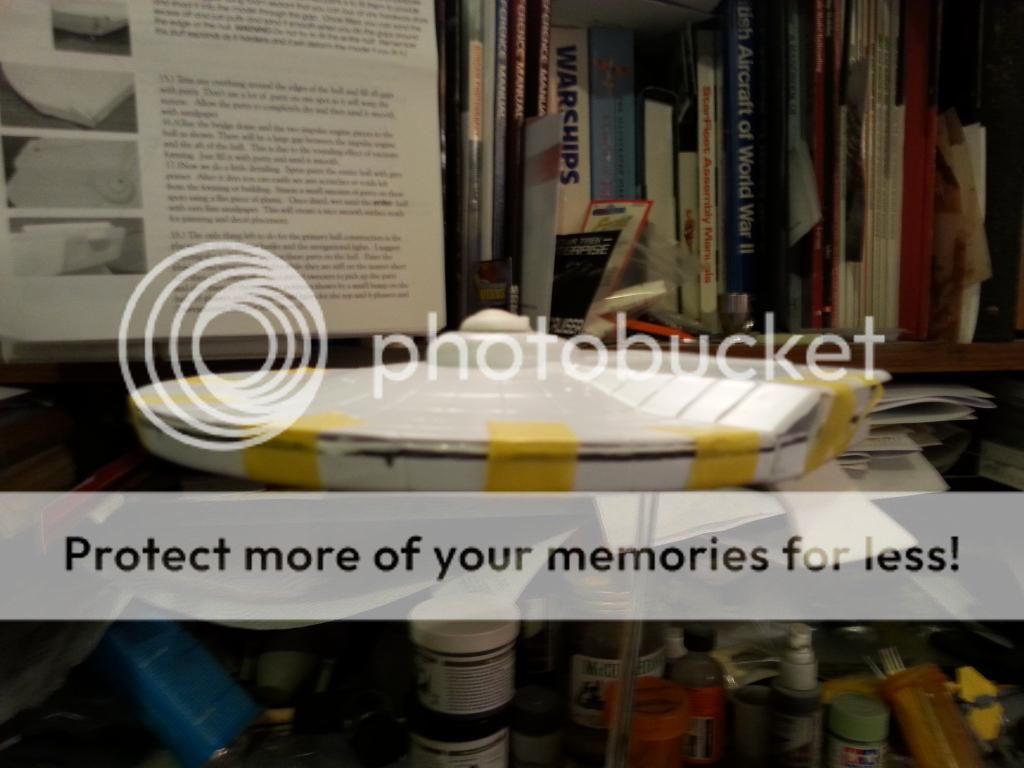

After everything dried, I pulled off the tape to see what types of gaps I was going to have to deal with. It looks actually better than I thought it would.
Using styrene beam turned on its side works like steel I-beams, and it holds extra weight without flexing. I have also added some Aves underneath the points where the beams touch the rounded inner surface of the lower primary hull.
The photo above allows a good view of the "lip spacers" along the rounded edge of the hull. I had to sand these down a little before I put the upper hull in place.
After everything dried, I pulled off the tape to see what types of gaps I was going to have to deal with. It looks actually better than I thought it would.
Using styrene beam turned on its side works like steel I-beams, and it holds extra weight without flexing. I have also added some Aves underneath the points where the beams touch the rounded inner surface of the lower primary hull.
Check out the Sci-Fi Model Kit Directory - A searchable resource with kit reviews and information on how to find the kit you're looking for! Visit http://www.sfmkd.com today!
-
Lonewolf
- Crafty Commodore
- Posts: 1105
- Joined: Sun Oct 07, 2012 11:06 pm
- Location: Up to my eyebrows in unbuilt models!
- Contact:
Re: 1:650 Surya Class
Time for another update.
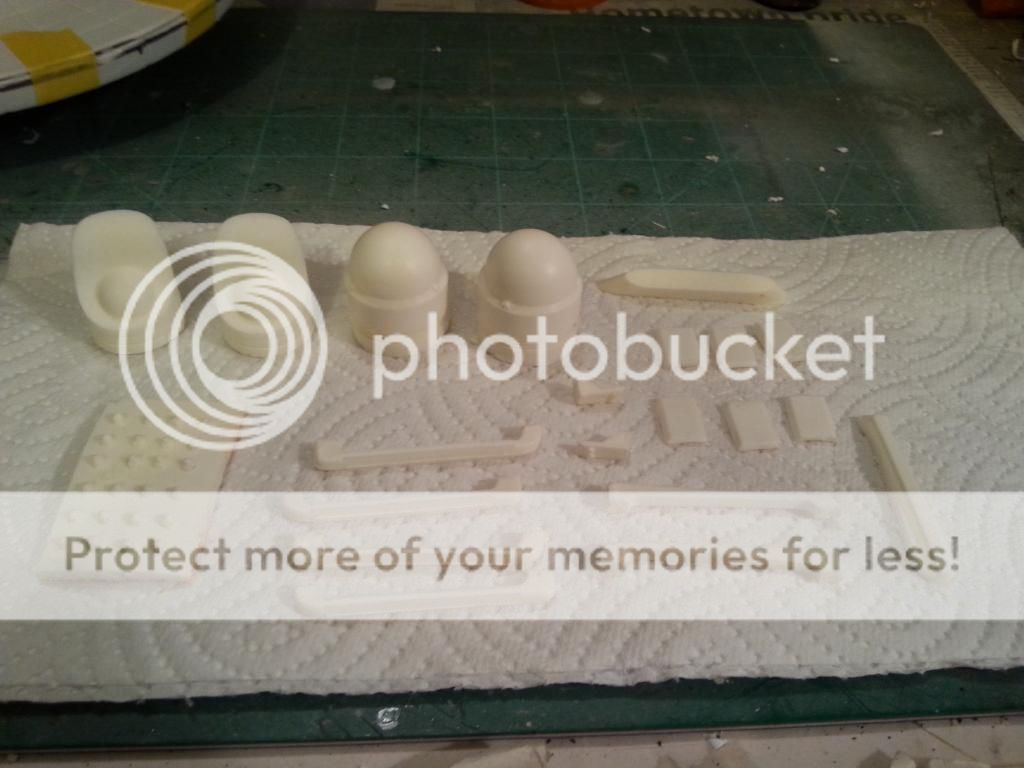
Resin bits and pieces have been washed and were left to air-dry overnight.

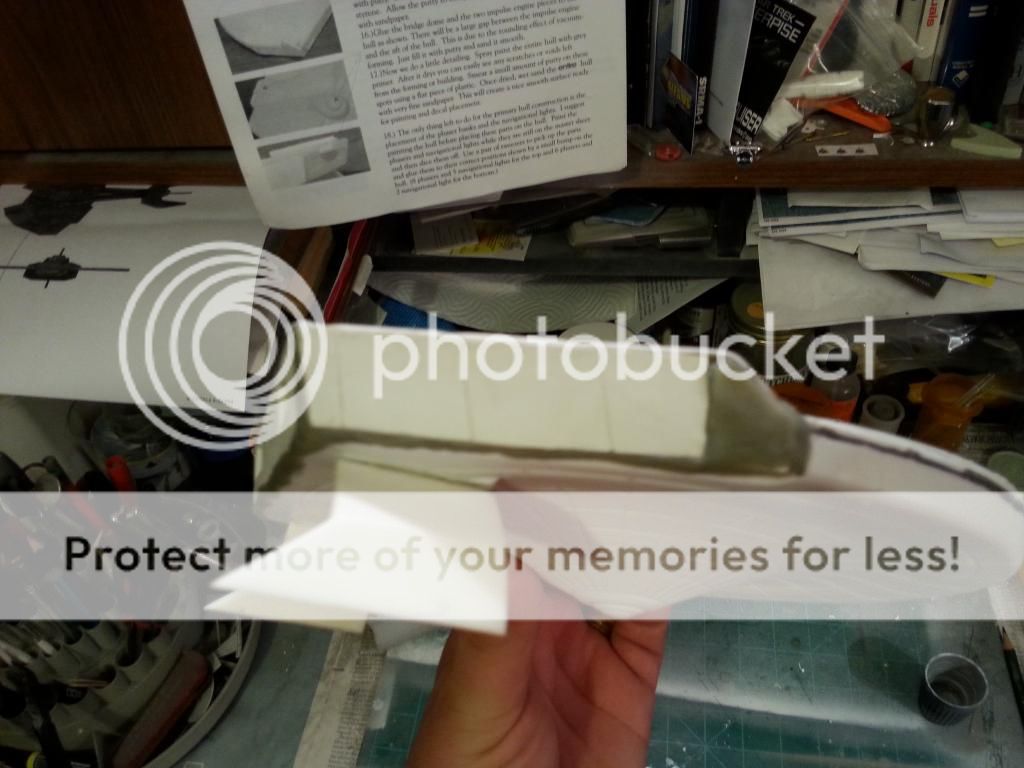
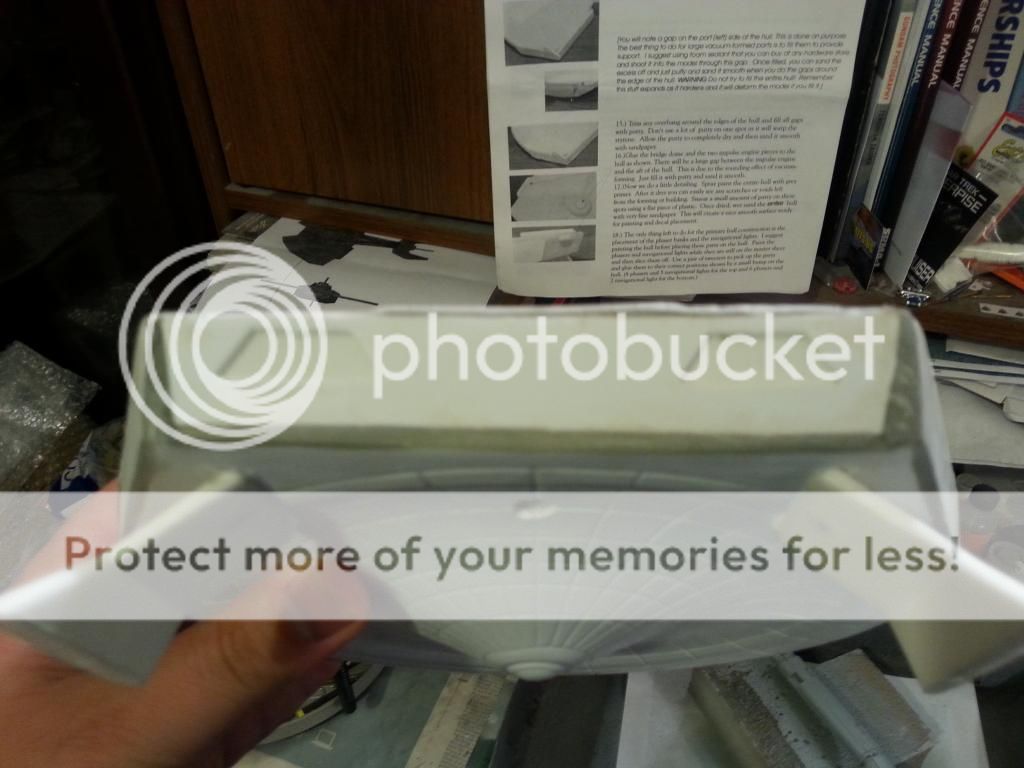
I cut small bits of styrene beam and glued them along the top inner edge to provide a lip for the side plates to rest against.
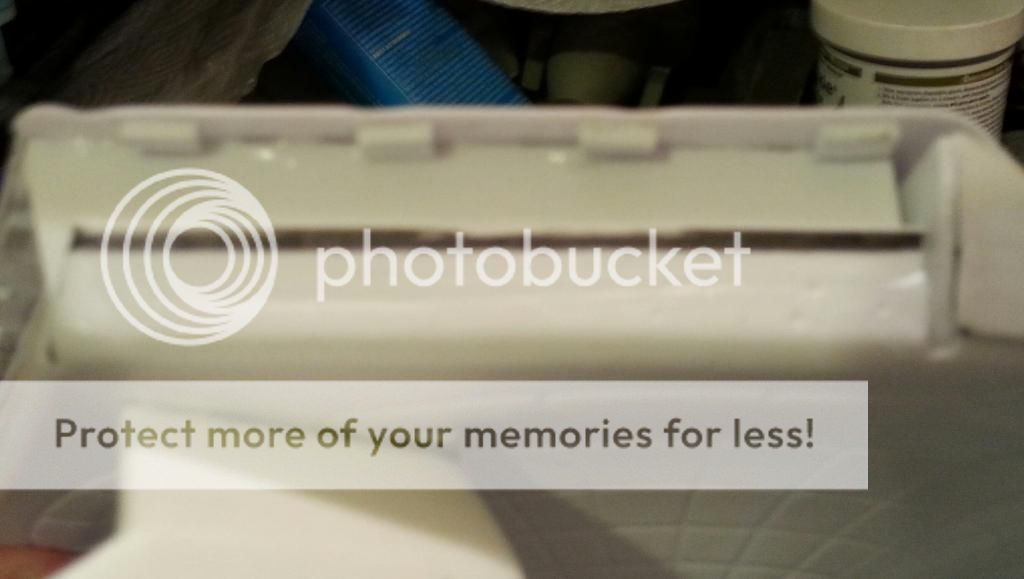
A closer view.

Fitting the plates into position on the port side. Gaps are expected in vacuform kits. The instructions actually recommend using expanding foam to fill them. I don't want to go that route, so I'm using a couple layers of Aves. I'll fill as much as I can, wait for it to cure, then go back with more to fill in remaining spots.
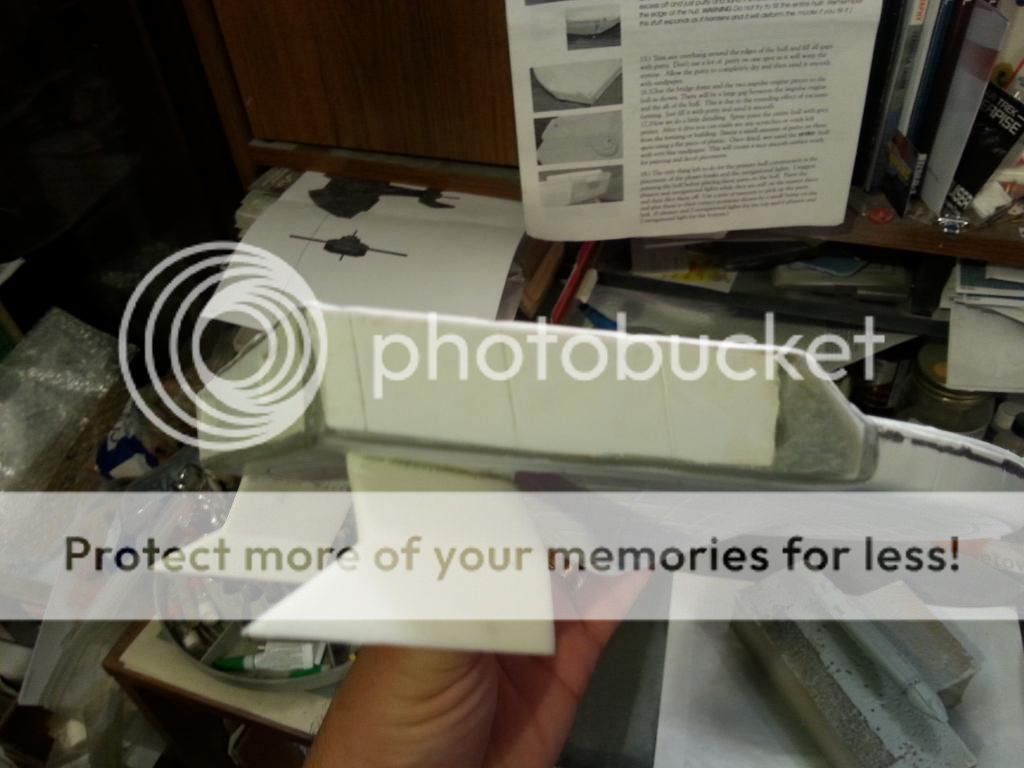
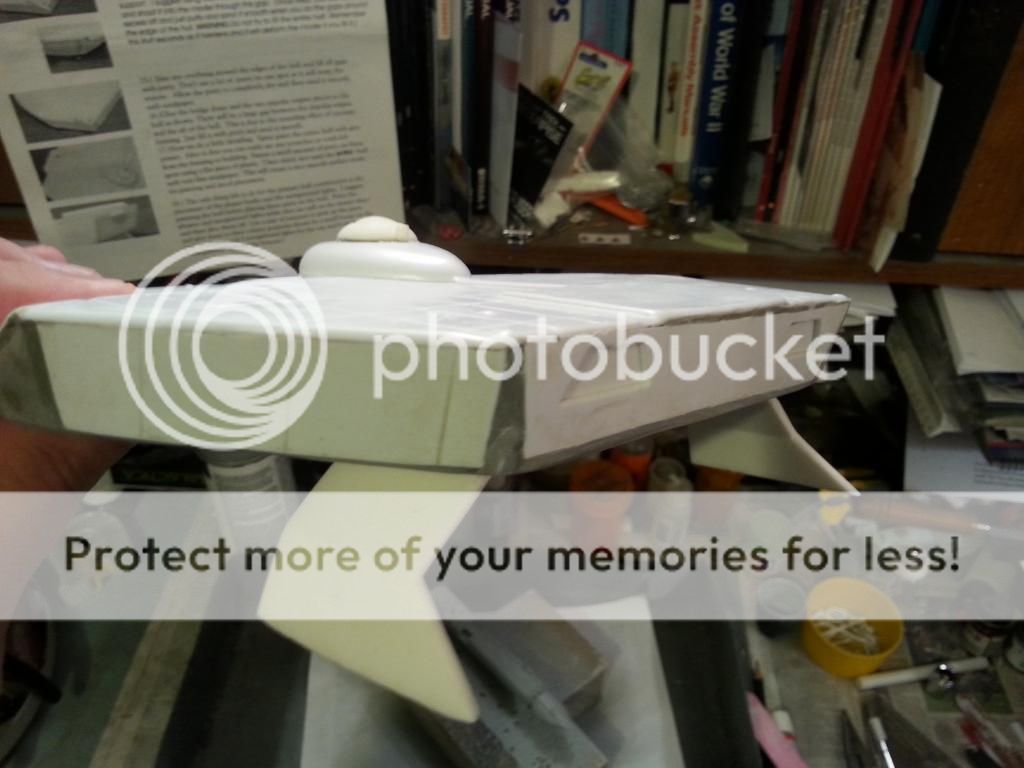
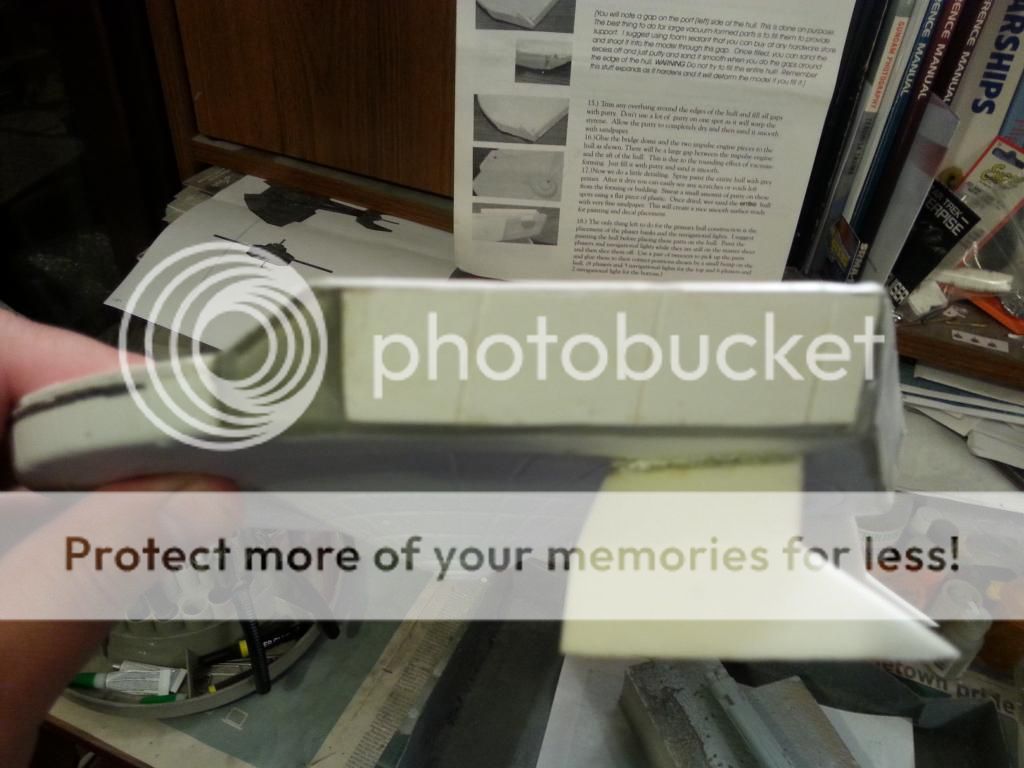
Side plates in place, and rough putty work done on the port side. I managed to scrape together enough Aves out of my remaining stash to get these gaps filled (mostly). I'm waiting on my new batch to arrive. The putty work was actually done on Sunday night.
View of the starboard side.
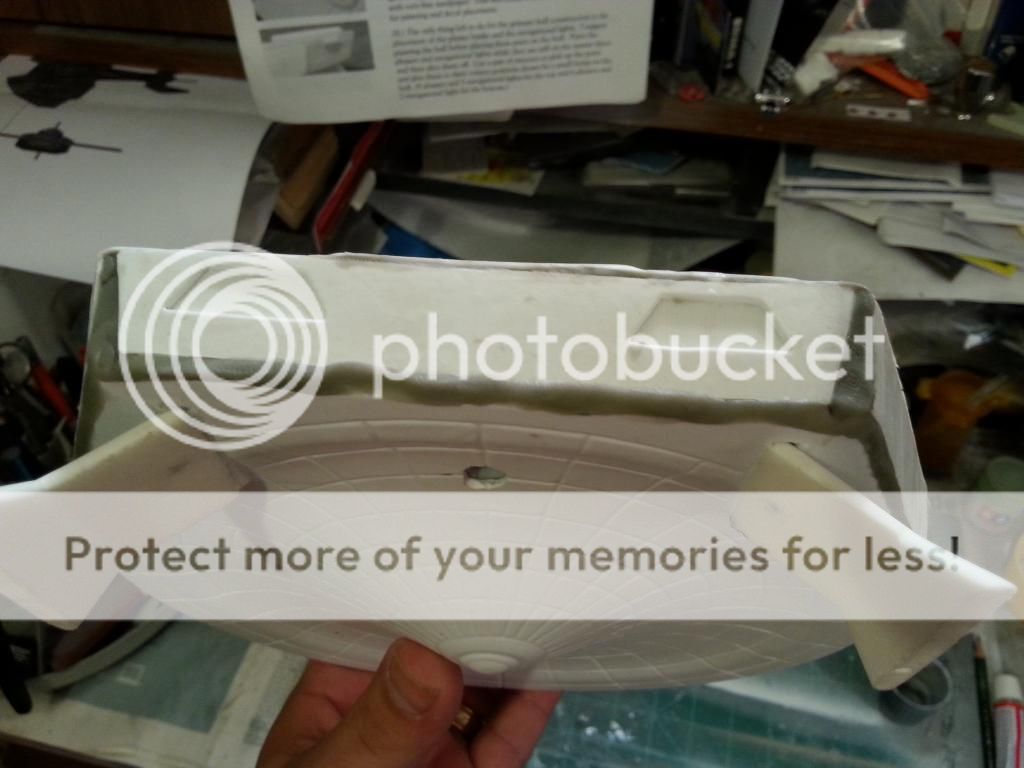
Stern view. As you can see, quite a bit of putty was needed here.
Well, that's it for now. I have to go do a bunch of sanding.
Resin bits and pieces have been washed and were left to air-dry overnight.
I cut small bits of styrene beam and glued them along the top inner edge to provide a lip for the side plates to rest against.
A closer view.
Fitting the plates into position on the port side. Gaps are expected in vacuform kits. The instructions actually recommend using expanding foam to fill them. I don't want to go that route, so I'm using a couple layers of Aves. I'll fill as much as I can, wait for it to cure, then go back with more to fill in remaining spots.
Side plates in place, and rough putty work done on the port side. I managed to scrape together enough Aves out of my remaining stash to get these gaps filled (mostly). I'm waiting on my new batch to arrive. The putty work was actually done on Sunday night.
View of the starboard side.
Stern view. As you can see, quite a bit of putty was needed here.
Well, that's it for now. I have to go do a bunch of sanding.
Last edited by Lonewolf on Mon Sep 15, 2014 12:51 am, edited 1 time in total.
Check out the Sci-Fi Model Kit Directory - A searchable resource with kit reviews and information on how to find the kit you're looking for! Visit http://www.sfmkd.com today!
-
Lonewolf
- Crafty Commodore
- Posts: 1105
- Joined: Sun Oct 07, 2012 11:06 pm
- Location: Up to my eyebrows in unbuilt models!
- Contact:
Re: 1:650 Surya Class
Short update today, as I spent a fair amount of time last night doing nothing but sanding. I feel like my arms are gonna fall off!
I still have some gaps to fill on the aft portion of the hull, and I haven't even started on the forward section around the curve yet. I'm just about out of Aves, and my new batch hasn't arrived, so it looks like I might be in a holding pattern for a bit as far as the hull is concerned. I could assemble the resin parts for the impulse deck, but I don't want to risk damaging them when I have to do more sanding on the main hull.
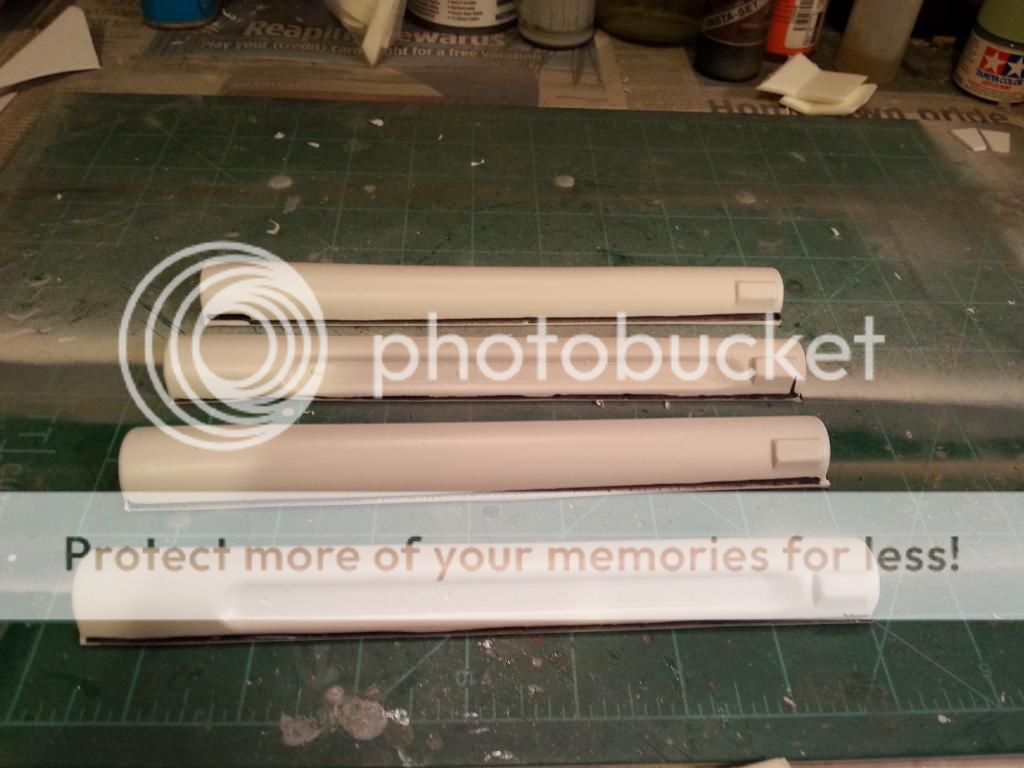
In the meantime, I'm going to try to start work tonight on the warp nacelles. I have to add some internal bracing and tabs to hold the halves together, and also to widen the aft end of one nacelle where it was pinched during vacuforming.
I'll post another update as soon as I can.
Thanks for looking!
I still have some gaps to fill on the aft portion of the hull, and I haven't even started on the forward section around the curve yet. I'm just about out of Aves, and my new batch hasn't arrived, so it looks like I might be in a holding pattern for a bit as far as the hull is concerned. I could assemble the resin parts for the impulse deck, but I don't want to risk damaging them when I have to do more sanding on the main hull.
In the meantime, I'm going to try to start work tonight on the warp nacelles. I have to add some internal bracing and tabs to hold the halves together, and also to widen the aft end of one nacelle where it was pinched during vacuforming.
I'll post another update as soon as I can.
Thanks for looking!
Check out the Sci-Fi Model Kit Directory - A searchable resource with kit reviews and information on how to find the kit you're looking for! Visit http://www.sfmkd.com today!
-
el gato
- Fatidical Fleet Admiral
- Posts: 6050
- Joined: Thu Apr 04, 2013 8:41 pm
- Location: In a land whose boundaries are that of imagination
Re: 1:650 Surya Class
Rich, first, thank you for documenting your build. As I mentioned before, vacuformed kits scare me and this thread serves as a slow immersion to get over the fear.
Second, because the kit is hollow, how hard is it to sand the putty. I tend to grip my models really hard when sanding so I'd be afraid I might crush it if I had that much sanding to do
Second, because the kit is hollow, how hard is it to sand the putty. I tend to grip my models really hard when sanding so I'd be afraid I might crush it if I had that much sanding to do
RogueWolf wrote:I've sacrificed many dozens (maybe even hundreds) of gummy bears to the dark modeling gods to grant me my wish... but I fear my offerings only amuse them, not appease them.