So... anyway... I finally got all the add on stuff and worked up the gumption to start working on her some weeks ago but I held off posting any pica until I had enough photos to make it interesting for you guys.
So, having taken over 40 photos now, I figure it's time to begin my build log of the 2002 Polar Lights Spindrift spaceship which was a re-release of the old 1968 Aurora Models kit.
But first, a quick synopsis of the show from Wikpedia...
"Set fifteen years in the future, in the year 1983, the series tells the tale of the crew and passengers of a sub-orbital transport ship named Spindrift. In the pilot episode, the Spindrift is en route from Los Angeles to London, on an ultra fast sub-orbital flight. Just beyond Earth's boundary with space, the Spindrift encounters a magnetic space storm, and is dragged through a space warp to a mysterious planet where everything is twelve times larger than on Earth, whose inhabitants the Earthlings nickname "the Giants." The Spindrift crash-lands, and the damage renders it inoperable."
Here's the trailer from 1968:
https://youtu.be/aDuNvZw8Gr4
This link takes you to a fan video offering a guided tour of the "real" Spindrift which is stored in a top-secret, high-security storage facility:
https://www.iann.net/giants/media/spindrift_tour/
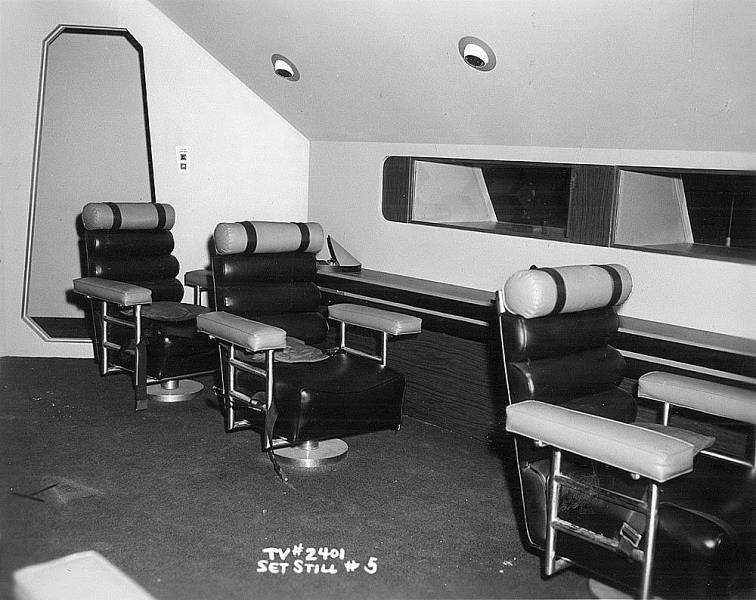
The tour is a lot of fun. Notice that the interior of the Spindrift is much larger than the exterior would seem to allow for; the same "TARDIS" effect seen in other Irwin Allen productions, like the Jupiter 2 in "Lost in Space", or the Seaview in "Voyage to the Bottom of the Sea".
Anyway, enough about the show, time for the model...
First off, the box cover. Very nice. Polar Lights used the same box art as the original Aurora kit. Dig that cool "Land of the Giants" logo:
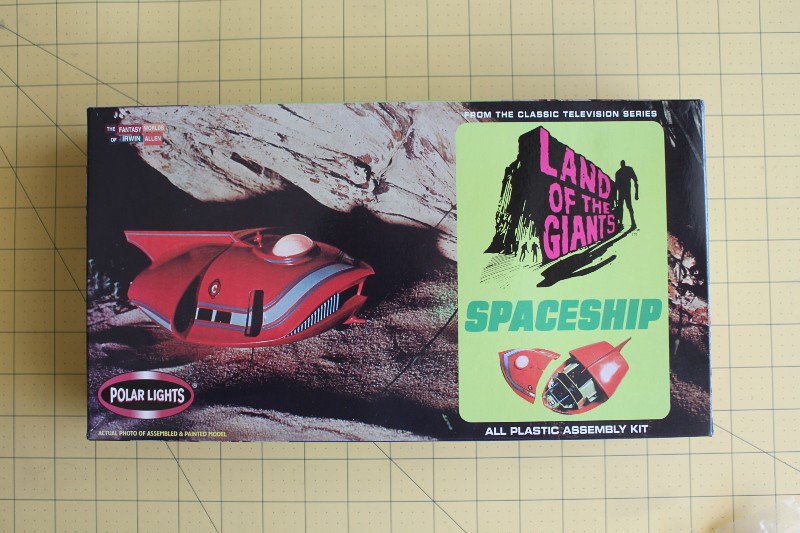 Box Art by trekriffic, on Flickr
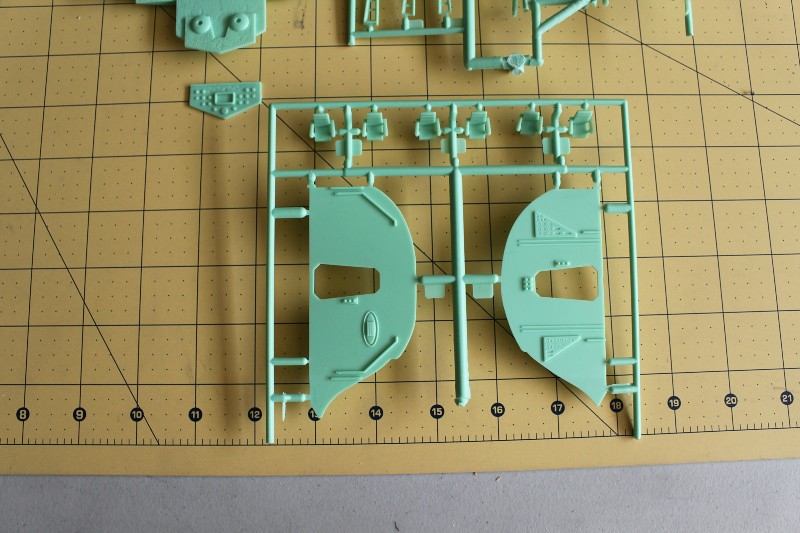
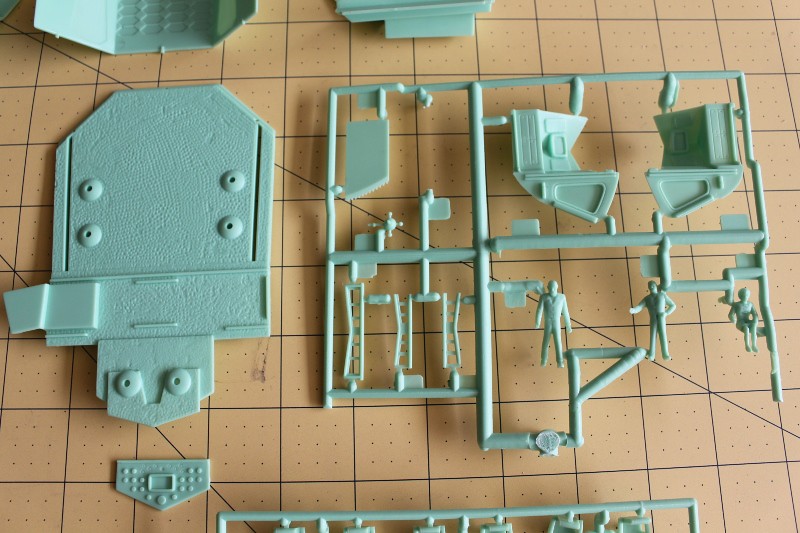
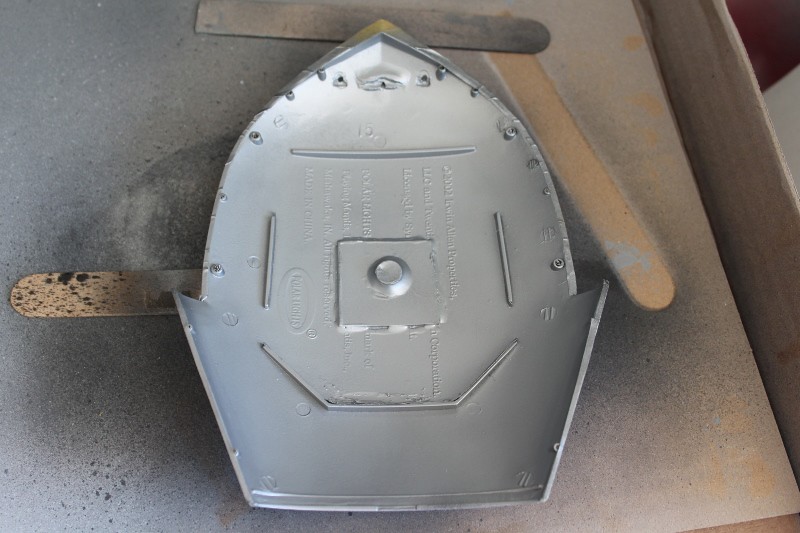
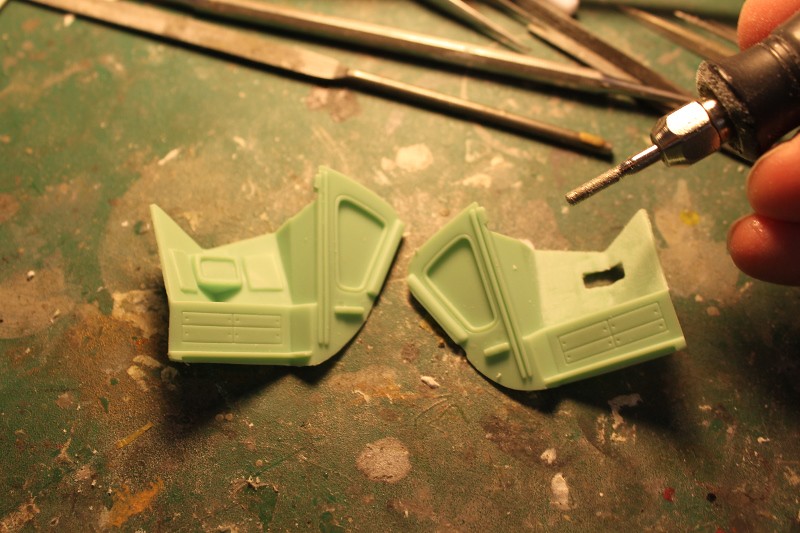
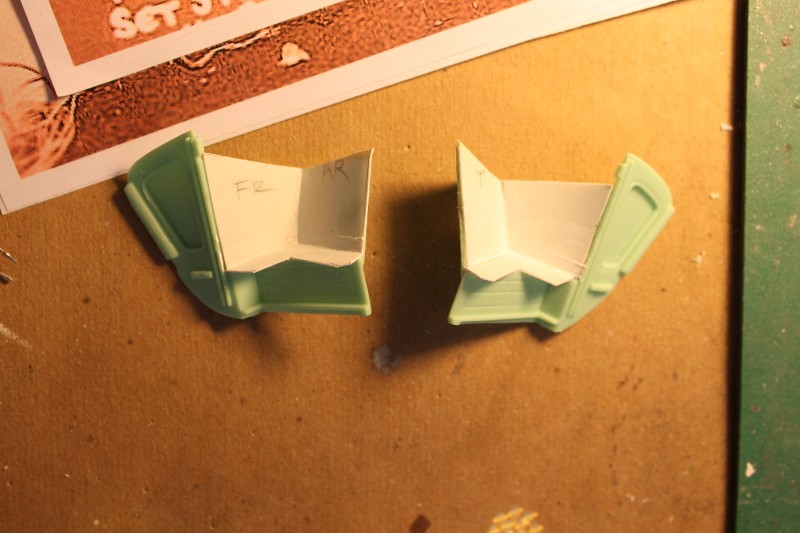
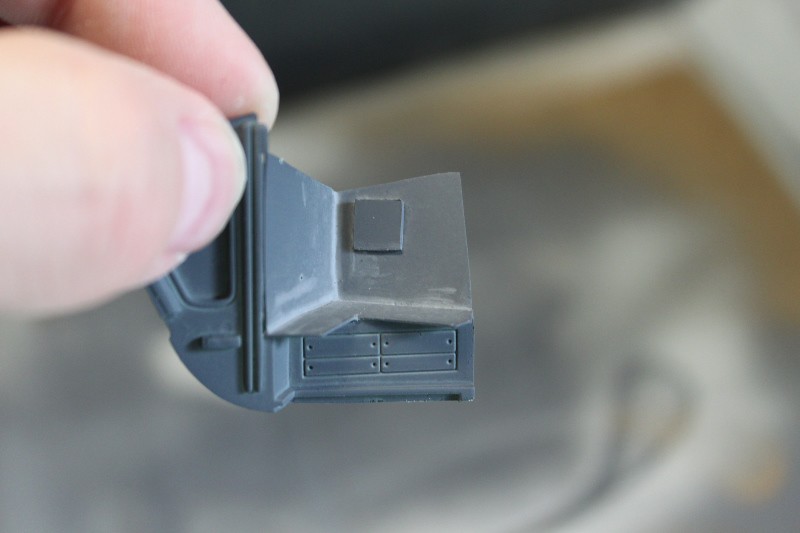
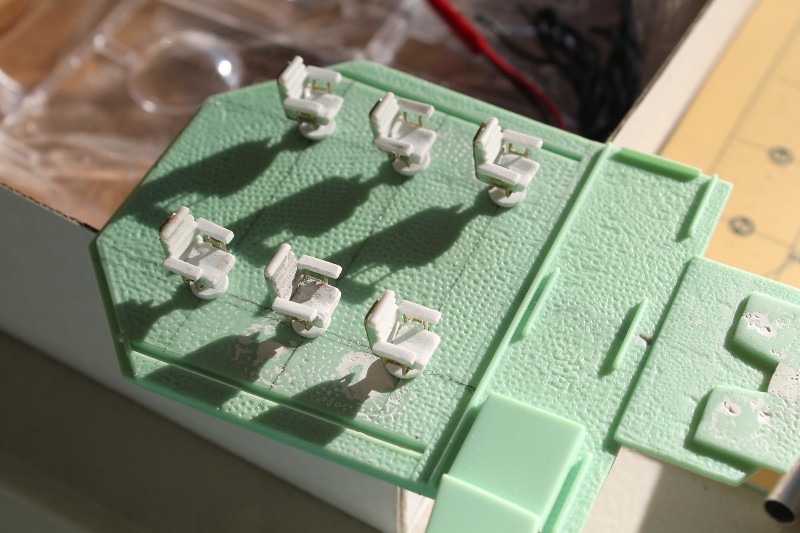
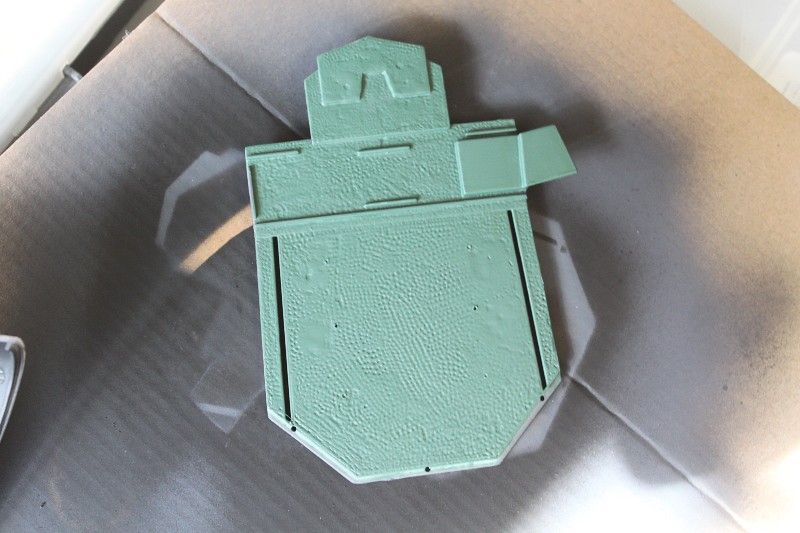
Kit parts. Two bags of white and light green plastic parts and one bag of clear parts. The Aurora kit had orange parts in place of the white.
 Kit Parts by trekriffic, on Flickr
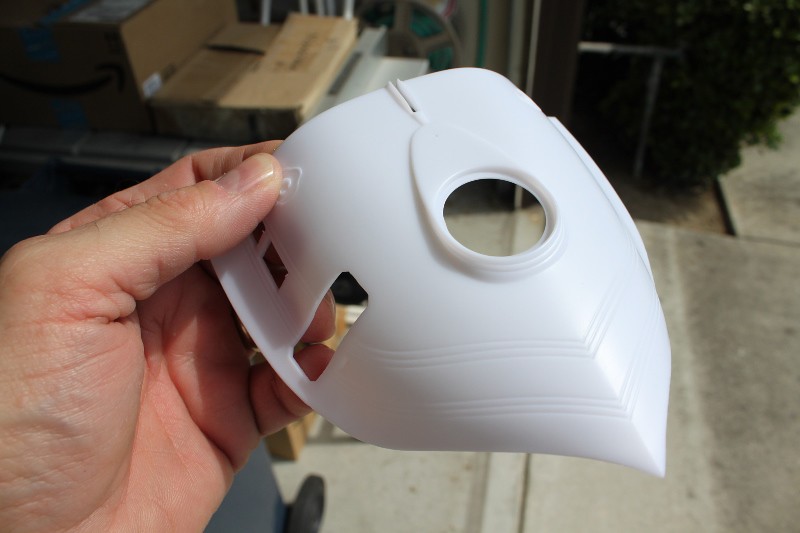
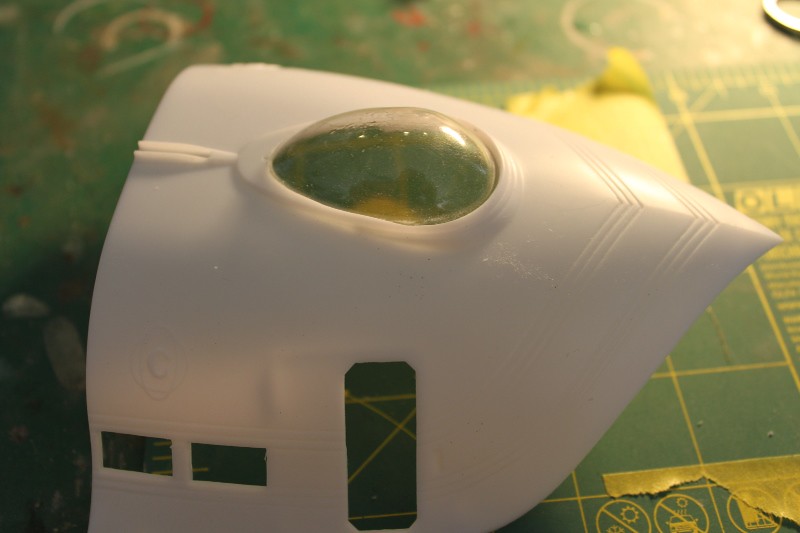
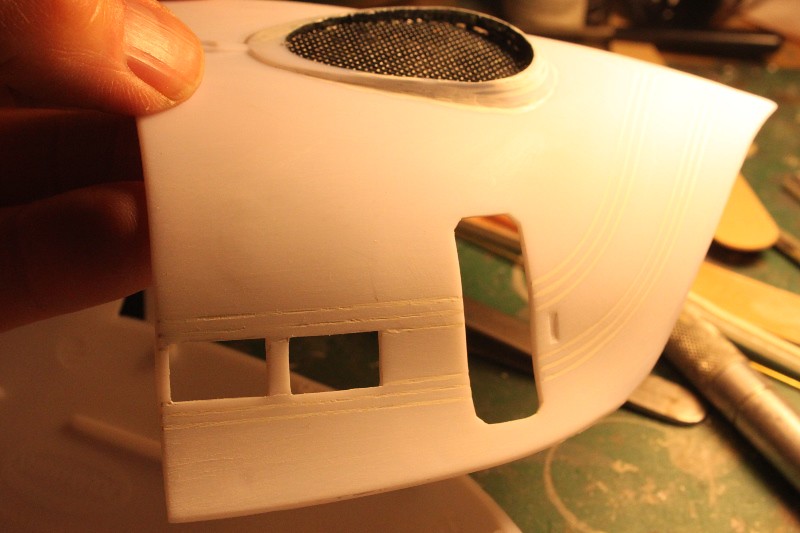
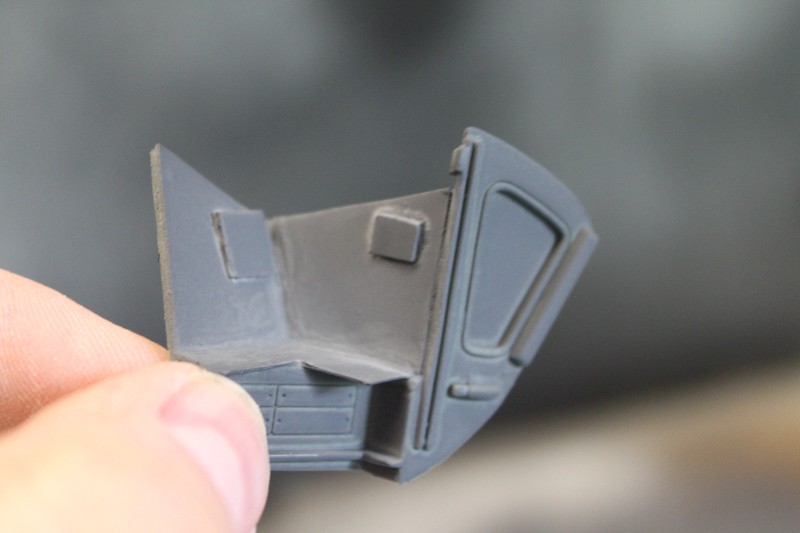
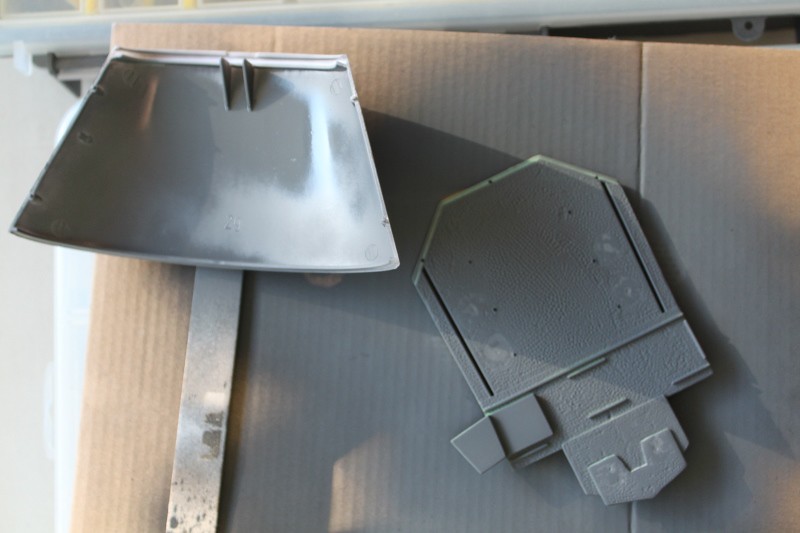
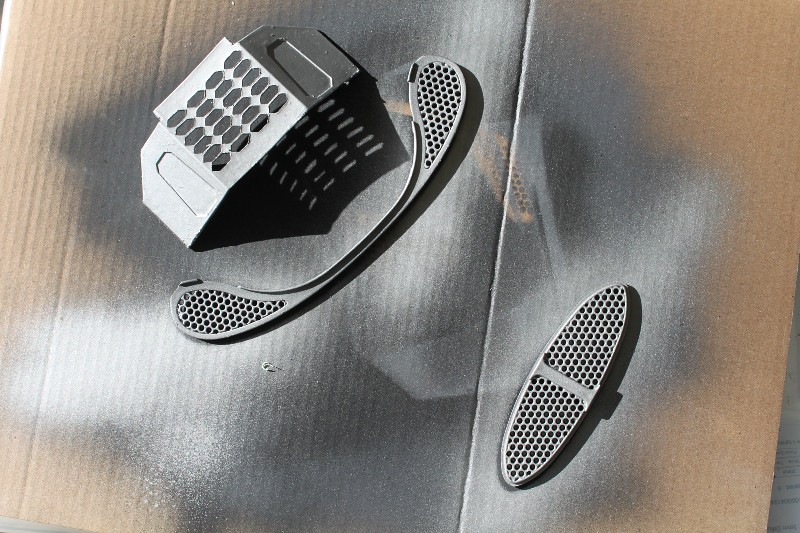
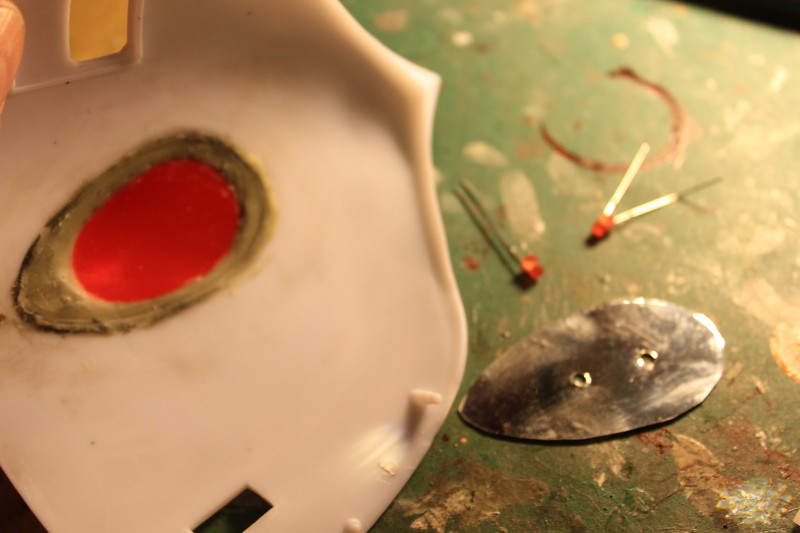
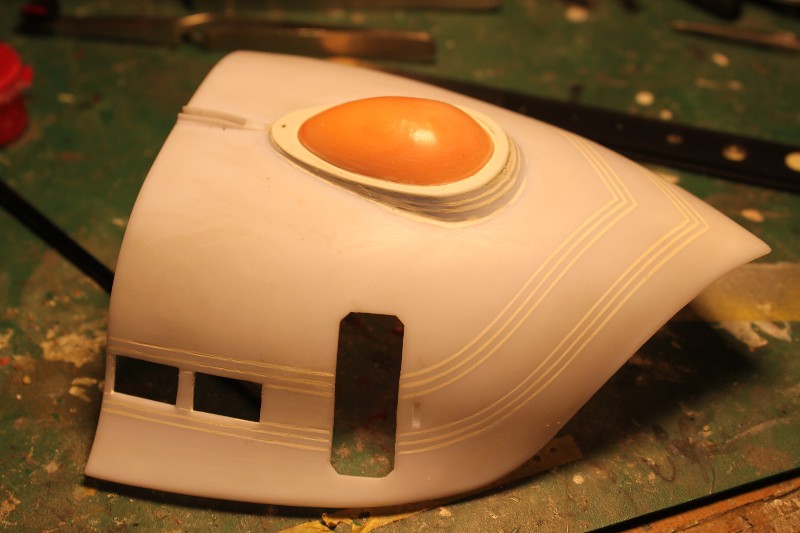
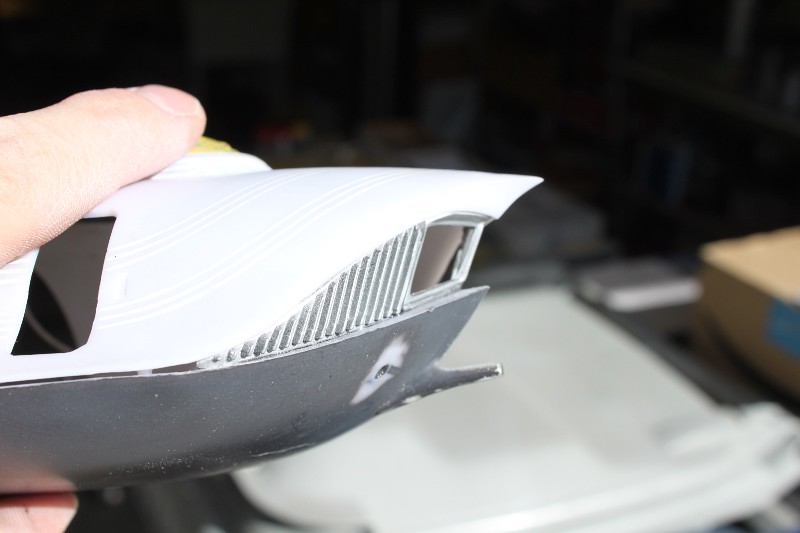
Next up, the dome. I bought this more accurate vac-formed teardrop shaped dome for the upper hull some years ago. It was included as part of an accessory parts kit that also included a resin rear passenger cabin wall and engine intake and exhaust grills:
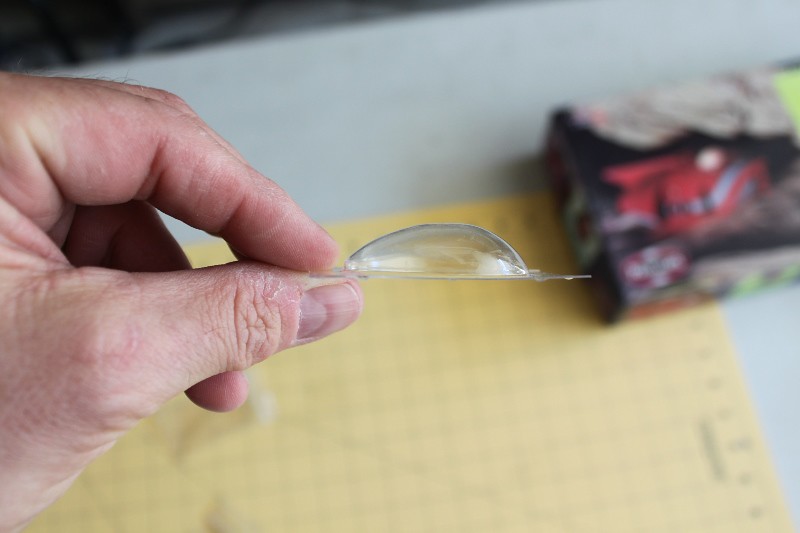 Dome by trekriffic, on Flickr
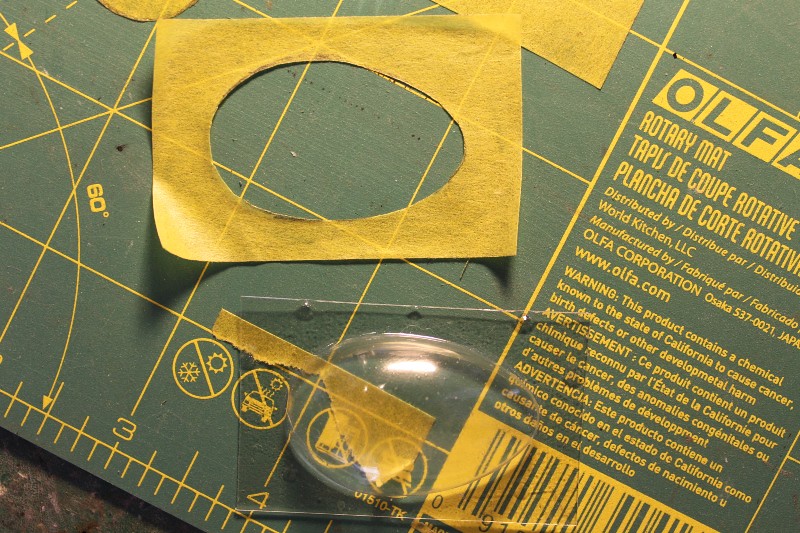
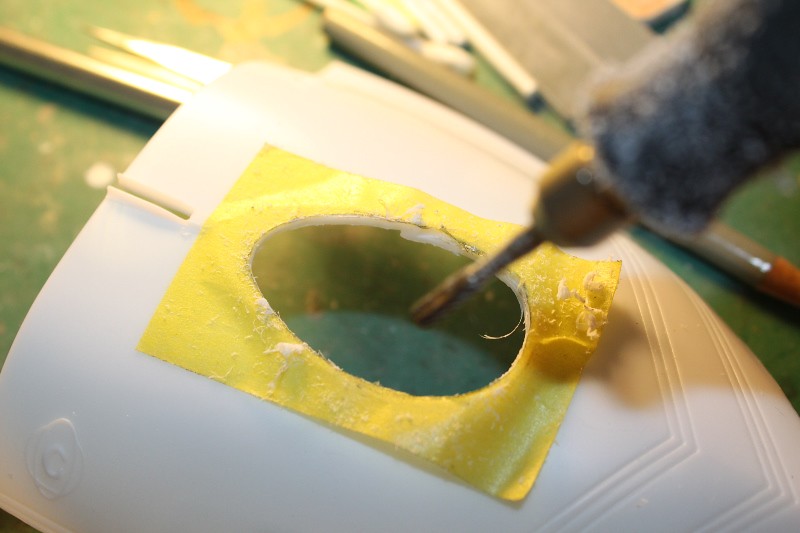
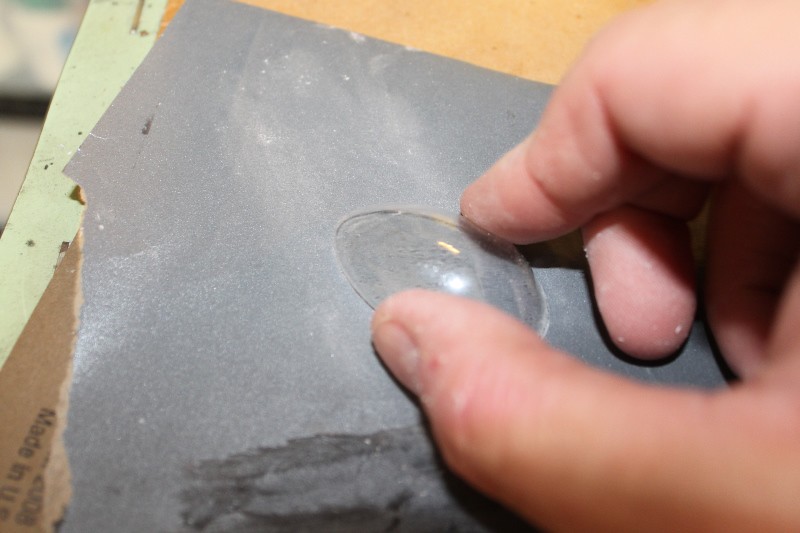
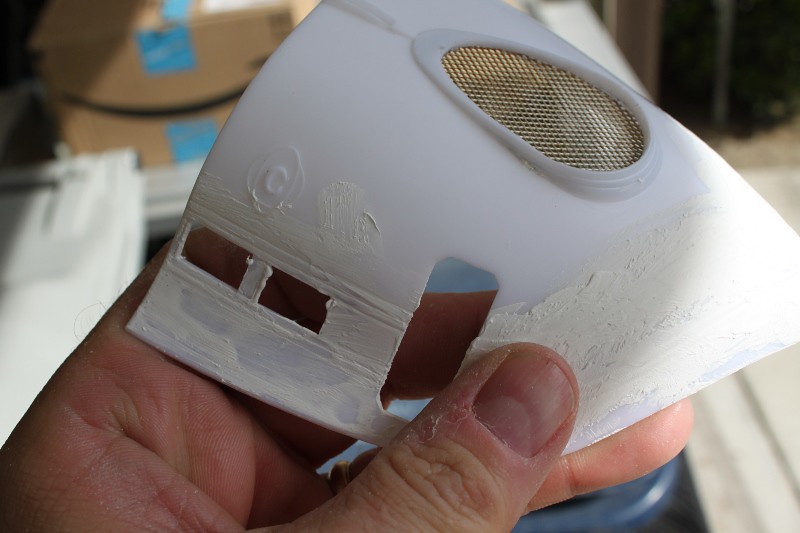
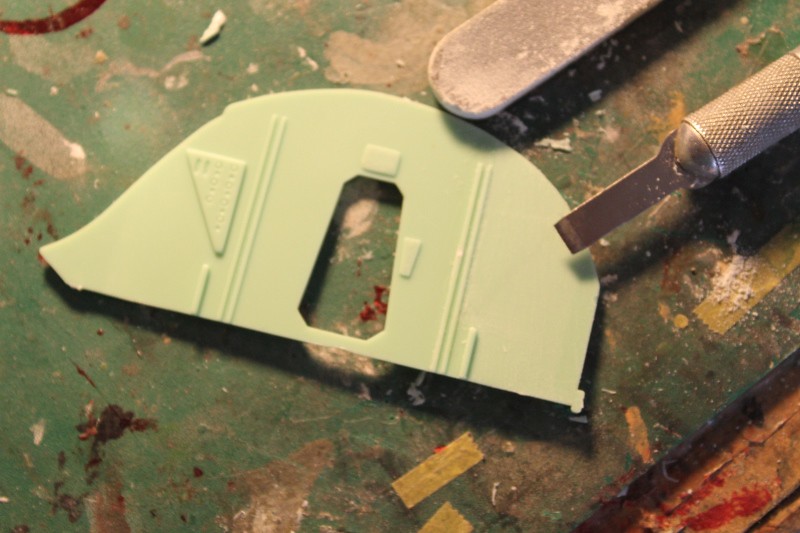
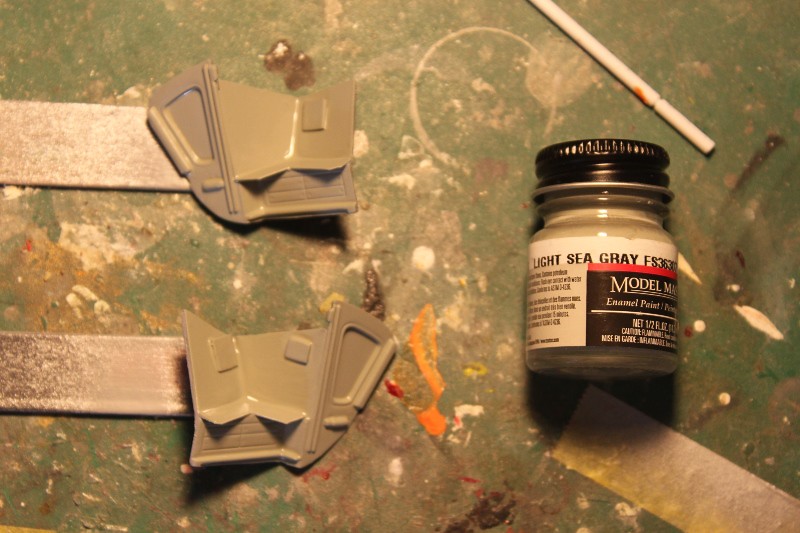
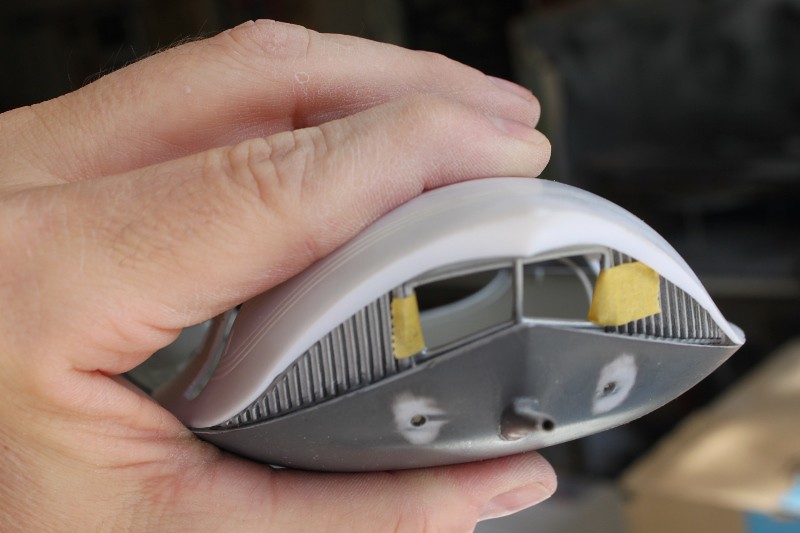
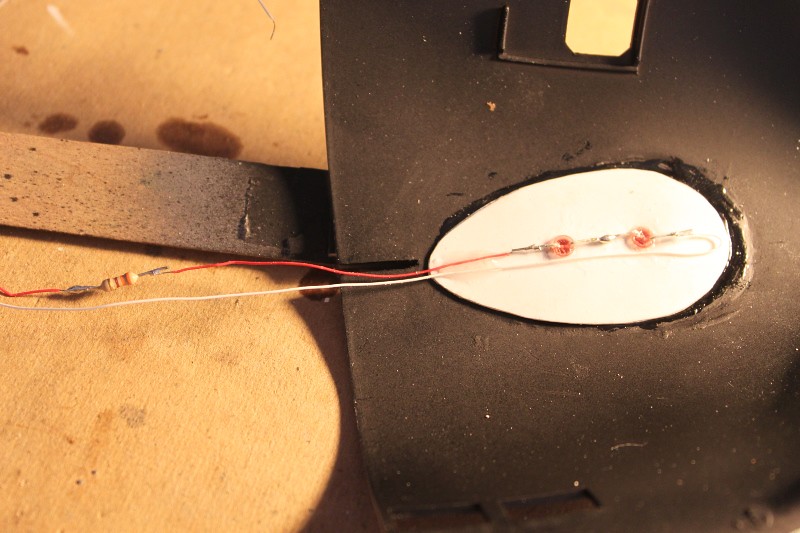
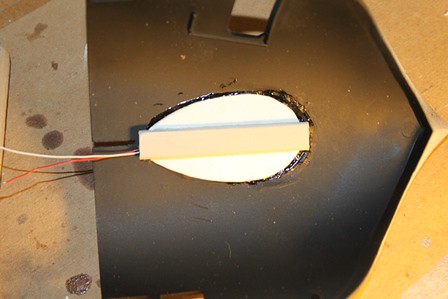
This accessory kit featured drilled out holes for lighting the grills along with transparent red and blue styrene sheet panels. There is quite a bit of flash to clean up but overall I'm quite pleased with these parts:
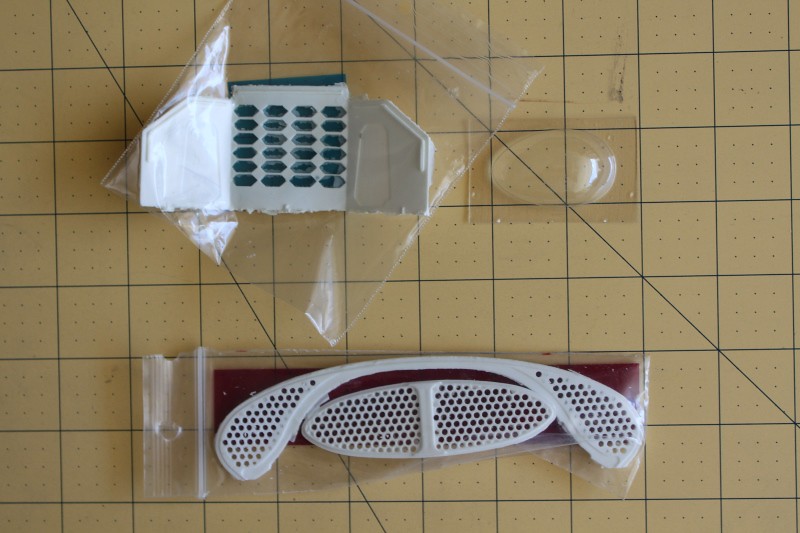 Aftermarket Engine Grills by trekriffic, on Flickr
Decals! Love-em! JT Graphics sold these accessory decals in 2002 concurrent with the release of the model kit:
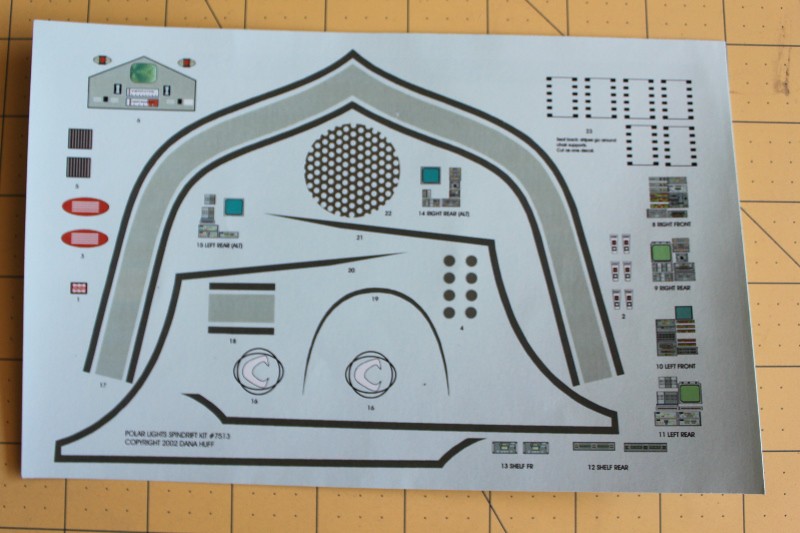 Aftermarket Decals by trekriffic, on Flickr
Closeup of some of the cockpit console and door operating panels:
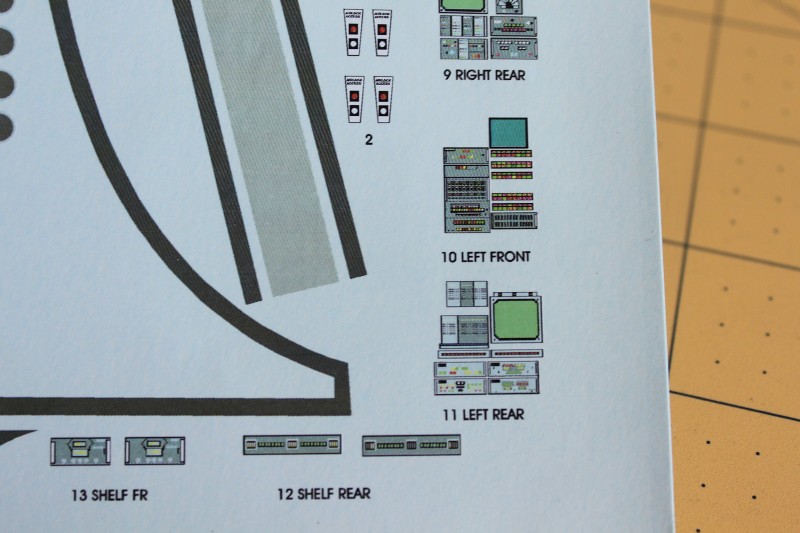 Decal Sheet Detail by trekriffic, on Flickr
Wall and Control Panel Decals:
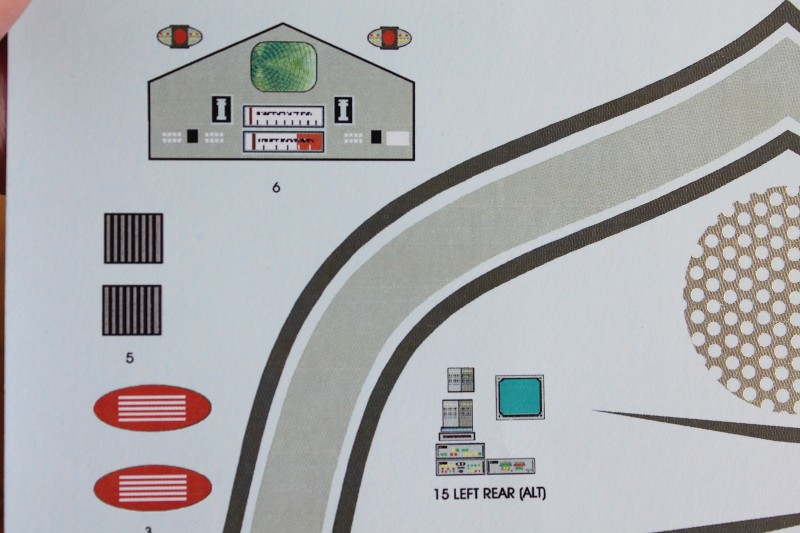 Decal Details by trekriffic, on Flickr
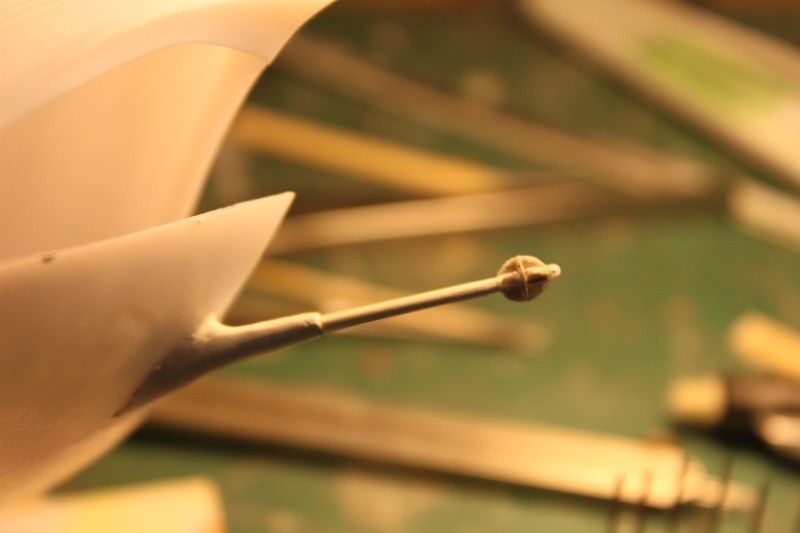
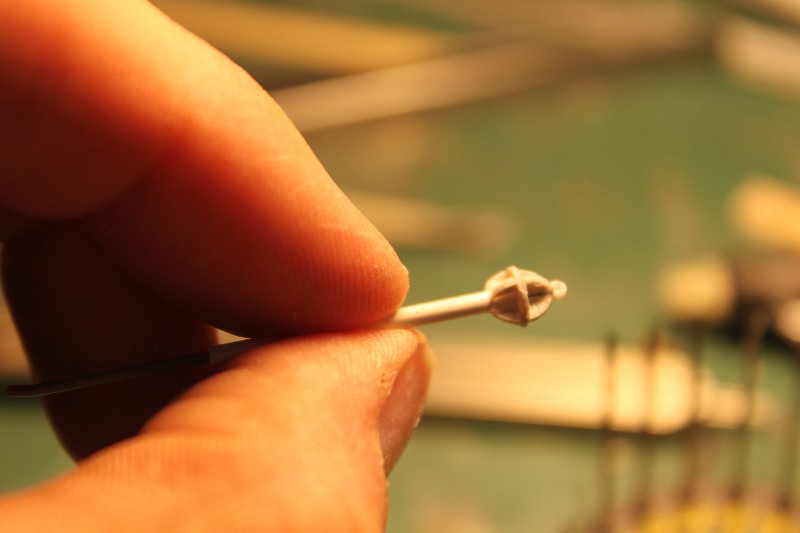
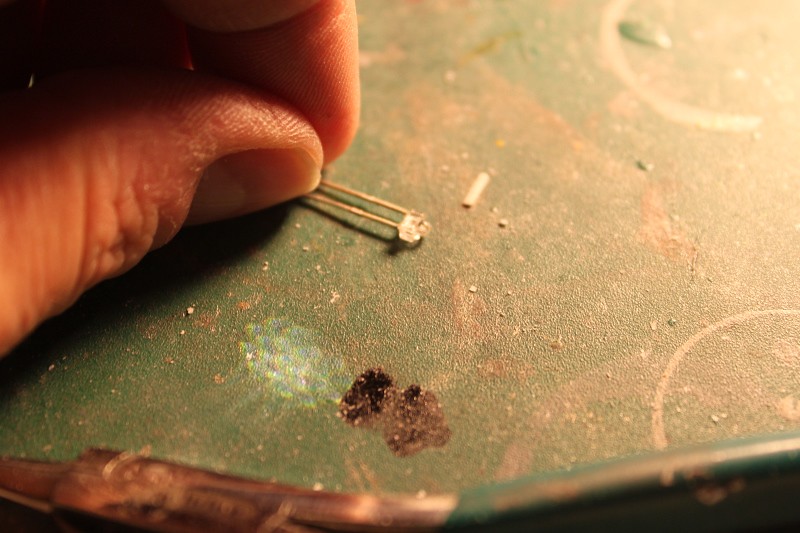
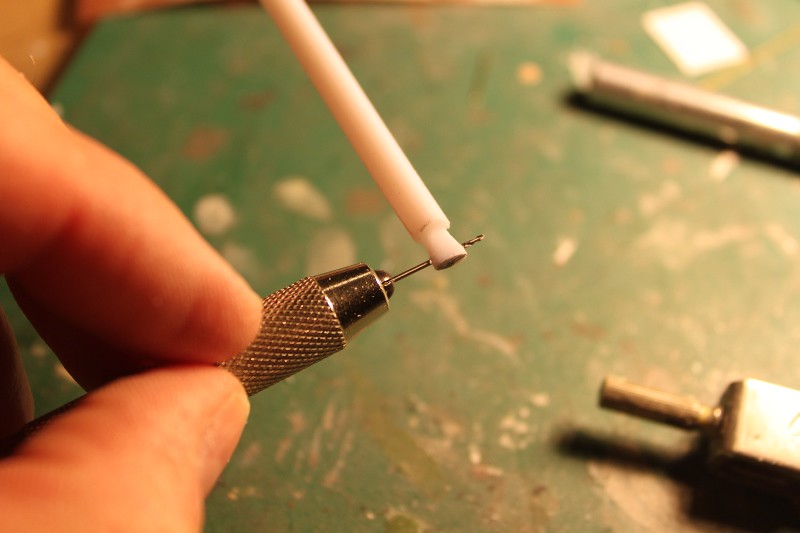
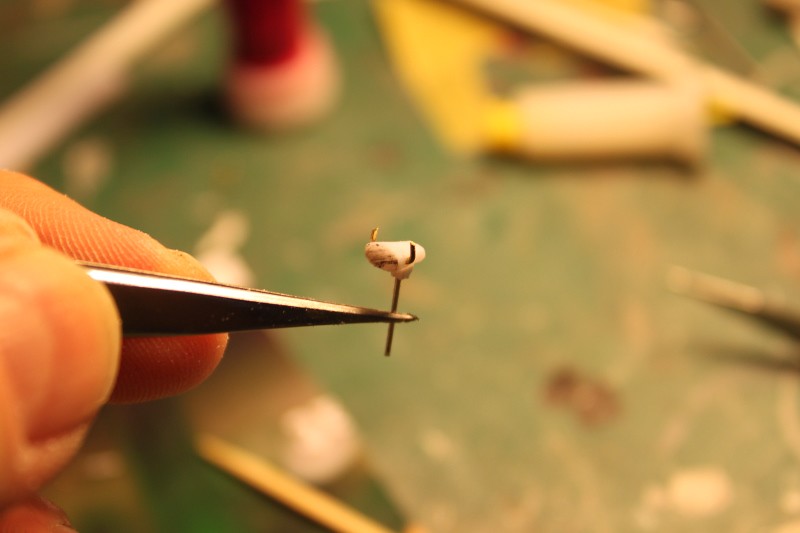
Instruction sheet-page 1. The instruction sheet is very detailed and even includes steps for making the cockpit steering yokes from scratch using sprue pieces from the kit:
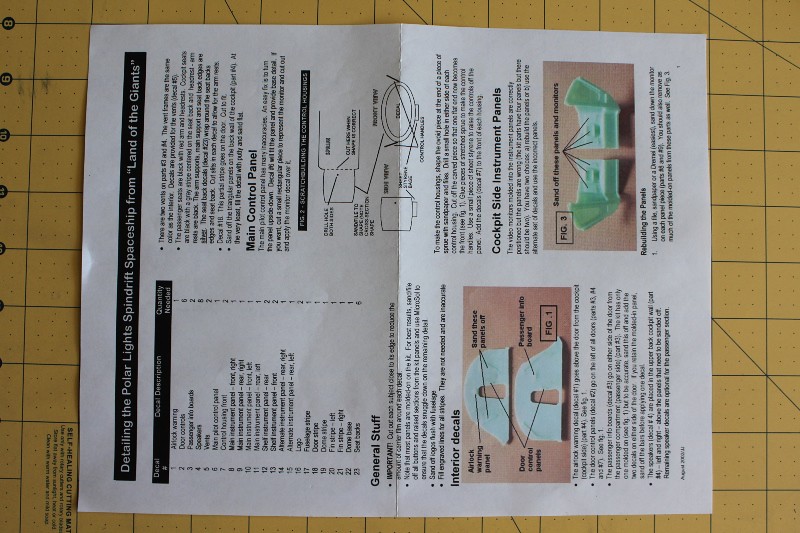 Decal Instruction Sheet - Page 1 by trekriffic, on Flickr
Page 2. More instructions on how to modify the kit cockpit walls to accommodate the instrument panel decals:
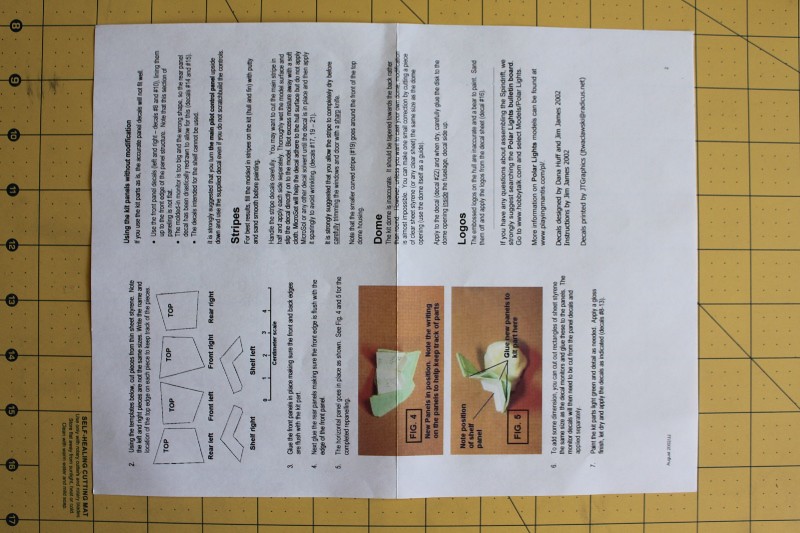 Decal Instruction Sheet - Page 2 by trekriffic, on Flickr